Introduction
Mulberries, often referred to as the “fruit of the silkworm tree,” are a delightful and nutritious fruit that has been cherished for centuries across various cultures. Their sweet, tangy flavor and vibrant purple hue make them an excellent choice for brewing wine. Making mulberry wine at home is not only a rewarding endeavor but also a fantastic way to preserve the fresh taste of summer long after the mulberry season has passed. This guide will walk you through the process of crafting your own mulberry wine, from selecting the perfect mulberries to bottling your finished product.
Section 1: Understanding Mulberries and Wine Making Basics
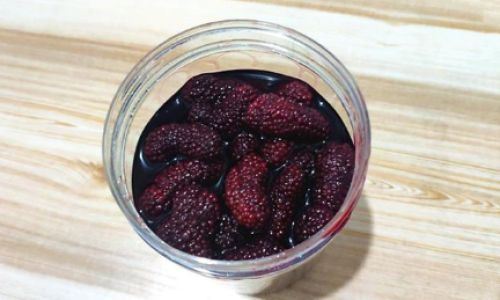
Before diving into the specifics of making mulberry wine, it’s essential to understand the basics of wine production and the unique qualities of mulberries. Mulberries come in various colors, including red, white, and black (or dark purple), each offering a distinct flavor profile. For wine making, dark-colored mulberries are typically preferred due to their richer, more robust flavor and higher anthocyanin content, which contributes to the wine’s color and antioxidant properties.
Wine making involves a series of biochemical processes, primarily fermentation, where yeast converts the sugars in the fruit into alcohol and carbon dioxide. The quality of the final wine depends on several factors, including the choice of mulberries, the yeast strain used, fermentation conditions, and aging process.
Section 2: Gathering and Preparing the Mulberries
Step 1: Selecting the Mulberries
The first step in making mulberry wine is selecting the right mulberries. Look for firm, fully ripe mulberries with a deep, vibrant color. Avoid mulberries that are moldy, bruised, or overly soft, as these can introduce unwanted bacteria or off-flavors to your wine. If possible, pick mulberries directly from a tree you trust to be free of pesticides and contaminants.
Step 2: Cleaning the Mulberries
Gently rinse the mulberries under cold running water to remove any dirt, debris, or insects. Be careful not to crush the berries during washing, as this can release juices and potentially introduce bacteria. After rinsing, pat the mulberries dry with a clean kitchen towel or let them air-dry on a paper towel-lined tray.
Step 3: Removing Stems and Imperfections
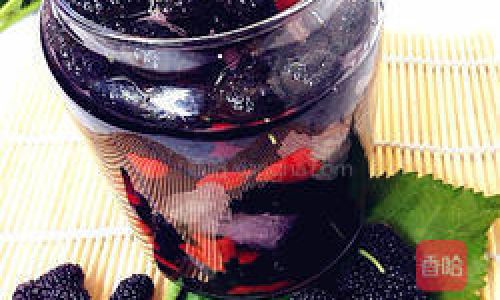
Once dry, remove the stems and any imperfect or damaged parts of the mulberries. This step ensures a cleaner, smoother wine with fewer impurities.
Section 3: Preparing the Must (Fermentation Mixture)
Step 4: Crushing the Mulberries
To begin the fermentation process, you need to crush the mulberries to release their juices. You can do this by hand using a potato masher or a fork, or you can use a food processor or blender for a smoother consistency. Be careful not to over-process, as you want to retain some of the fruit’s natural texture for added body and flavor in the wine.
Step 5: Adding Sugar and Other Ingredients
Mulberries naturally contain some sugar, but adding additional sugar can enhance the fermentation process and increase the alcohol content of the wine. The amount of sugar you add will depend on your personal preference and the sweetness of the mulberries. Generally, adding about 1 to 2 pounds of sugar per gallon of mulberry juice is a good starting point.
You can also add other ingredients to your must, such as yeast nutrient (which provides essential nutrients for the yeast), pectic enzyme (which breaks down pectin in the fruit, improving juice clarity), and acid blend (which adjusts the wine’s acidity). These additives are optional but can improve the overall quality of your wine.
Step 6: Mixing and Transferring to a Fermentation Vessel
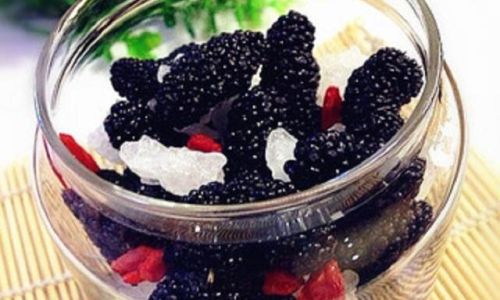
Combine the crushed mulberries, sugar, and any other ingredients in a large, non-reactive pot or bucket. Stir well to ensure everything is evenly mixed. Then, transfer the mixture to a clean, sanitized fermentation vessel, such as a glass carboy or food-grade plastic bucket.
Section 4: Fermentation
Step 7: Adding Yeast
Before adding yeast, make sure the must is at the correct temperature for fermentation, typically between 65°F and 85°F (18°C and 29°C). Sprinkle the yeast (either a wine yeast strain or a general-purpose baking yeast) over the surface of the must and let it sit for about 15 minutes to activate. Then, stir the yeast into the must gently but thoroughly.
Step 8: Monitoring Fermentation
Cover the fermentation vessel with a loose-fitting lid or cloth to allow for gas exchange while preventing contaminants from entering. Place the vessel in a cool, dark place away from direct sunlight and vibrations. Monitor the fermentation daily by checking the temperature, stirring the must gently, and observing for signs of activity, such as bubbles forming on the surface (indicating carbon dioxide release).
During fermentation, the yeast will consume the sugars in the must, producing alcohol and carbon dioxide. This process can take anywhere from a few days to a couple of weeks, depending on the yeast strain, temperature, and sugar content of the must.
Step 9: Racking and Secondary Fermentation
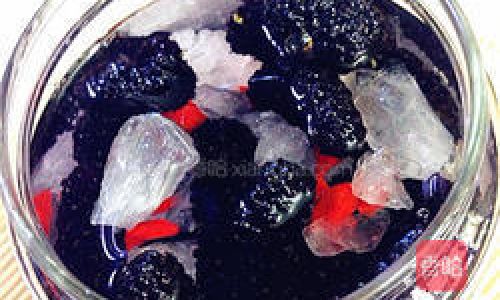
Once the primary fermentation has slowed down significantly (usually when the bubbling stops and the temperature stabilizes), it’s time to rack the wine. Racking involves transferring the wine from the primary fermentation vessel to a secondary vessel, leaving behind the sediment (lees) that has settled at the bottom. Use a siphoning device (such as a racking cane and tube) to avoid disturbing the lees.
In the secondary vessel, the wine will undergo a slower, secondary fermentation process, where residual sugars are further consumed by the yeast and flavors develop and mature. This stage can last anywhere from a few weeks to several months, depending on the desired wine profile.
Section 5: Aging and Bottling
Step 10: Aging
Aging your mulberry wine can significantly enhance its flavor and complexity. During aging, the wine’s tannins soften, flavors meld together, and aromas develop. You can age your wine in a variety of containers, including glass carboys, oak barrels, or stainless steel tanks. Oak barrels, in particular, can add additional flavors and aromas (such as vanilla, caramel, and spice) to the wine through a process called oak extraction.
The length of aging depends on your personal preference and the style of wine you’re aiming for. Generally, mulberry wines can be aged for anywhere from a few months to several years.
Step 11: Bottling
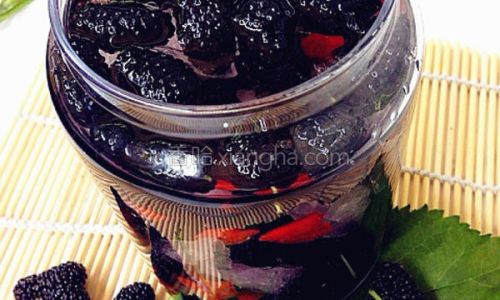
Once your mulberry wine has aged to your liking, it’s time to bottle it. Start by racking the wine off the lees one final time, ensuring it’s as clear as possible. Then, use a bottling wand and hose to transfer the wine into clean, sanitized bottles. Fill the bottles to the neck to minimize headspace, which can lead to oxidation.
Seal the bottles with corks or screw caps and label them with the date, wine type, and any other relevant information. Store the bottles in a cool, dark place, such as a cellar or wine fridge, to maintain their quality and flavor.
Conclusion
Making mulberry wine is a rewarding and enjoyable process that allows you to create a unique and delicious beverage from the fruits of your labor. By following the steps outlined in this guide, you can craft a mulberry wine that is not only visually stunning but also bursting with flavor and aroma. Whether you’re a seasoned wine maker or a beginner, the art of making mulberry wine offers a fascinating journey into the world of fermentation and aging, resulting in a finished product that you can proudly share with friends and family. So, gather your mulberries, gather your supplies, and start your own mulberry wine-making adventure today!

0 comments