Introduction
In the realm of homemade beverages, mulberry wine stands out as a delightful and nutritious choice. The deep purple hue of mulberries, coupled with their sweet and slightly tart flavor, makes them an ideal candidate for fermentation into a rich, aromatic wine. The process of making mulberry wine, known as mulberry bubbling or mulberry soaking in alcoholic beverages, is not only a rewarding culinary endeavor but also a journey through tradition and innovation. This guide aims to provide a comprehensive understanding of how to make mulberry wine, from selecting the perfect mulberries to bottling the final product.
Chapter 1: Understanding Mulberries
Mulberries (Morus species) are the edible fruits of mulberry trees, which belong to the Moraceae family. There are several varieties of mulberry trees, each producing fruits that vary in size, color, and taste. The most common types include the white mulberry (Morus alba), red mulberry (Morus rubra), and black mulberry (Morus nigra). For wine-making purposes, black and red mulberries are preferred due to their higher anthocyanin content, which contributes to the wine’s color and antioxidant properties.
Mulberries are rich in vitamins, minerals, and antioxidants. They contain vitamins C, K, and A, as well as minerals like potassium, iron, and calcium. The antioxidants present in mulberries, particularly anthocyanins and flavonoids, have been linked to various health benefits, including anti-inflammatory and anti-cancer properties.
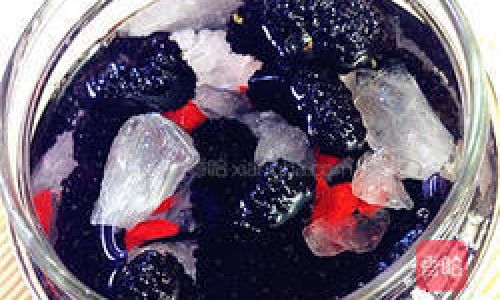
Chapter 2: Selecting and Preparing Mulberries
The quality of the mulberries you use will directly impact the quality of your final wine. Here are some tips for selecting and preparing mulberries:
-
Timing is Key: Harvest mulberries when they are fully ripe. Ripe mulberries are usually dark in color (black or deep red) and slightly soft to the touch. Avoid picking mulberries that are too firm or have any signs of mold or decay.
-
Variety Selection: As mentioned earlier, black and red mulberries are ideal for wine-making. White mulberries, while edible, tend to have a lighter color and flavor, which may not be as suitable for wine.
-
Cleaning: Gently rinse the mulberries under cold running water. Avoid soaking them in water, as this can cause them to lose their natural sweetness and flavor. Pat them dry using a clean kitchen towel or paper towels.
-
Removing Stems and Leaves: Carefully remove any stems and leaves from the mulberries. These parts can add unwanted bitterness to the wine.
-
Crushing: To facilitate fermentation, crush the mulberries using a potato masher, food processor, or blender. Aim for a consistency that is neither too chunky nor too smooth. Crushing the mulberries also helps to release their juices, which will contribute to the wine’s flavor and color.
Chapter 3: Choosing the Right Ingredients
In addition to mulberries, you will need a few other ingredients to make mulberry wine:
-
Sugar: Sugar is a crucial ingredient in wine-making as it provides the yeast with the energy needed to convert the mulberry juices into alcohol and carbon dioxide. The amount of sugar you add will depend on your personal taste preferences and the natural sweetness of the mulberries.
-
Yeast: Wine yeast is a type of fungi that ferments sugars into alcohol and carbon dioxide. There are various strains of wine yeast available, each with its own unique characteristics. For mulberry wine, choose a yeast strain that is known for producing wines with fruity aromas and flavors.
-
Water: Clean, potable water is used to adjust the consistency of the mulberry mixture and to ensure that the fermentation process proceeds smoothly.
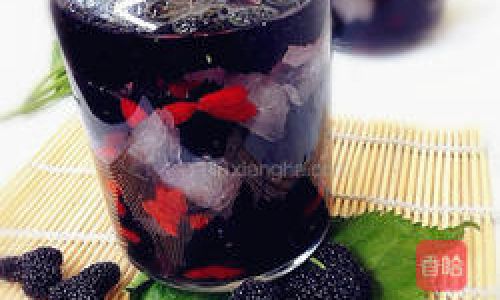
-
Acid Blend: An acid blend is a mixture of various acids used to adjust the pH level of the wine. A balanced pH level is crucial for preventing bacterial contamination and ensuring that the yeast ferments efficiently.
-
Pectic Enzyme: Pectic enzyme is an enzyme that breaks down pectin, a natural substance found in fruits that can cause the wine to be cloudy. Adding pectic enzyme during fermentation can help to produce a clearer wine.
-
Campden Tablets: Campden tablets (potassium metabisulfite) are used to sterilize the equipment and wine must (the mixture of mulberries, sugar, water, and yeast) before and after fermentation. They prevent the growth of unwanted bacteria and yeasts.
Chapter 4: Equipment and Supplies
Making mulberry wine requires some specialized equipment and supplies. Here is a list of what you will need:
-
Fermentation Bucket: A large, food-grade plastic bucket with a lid is used for the primary fermentation process. Make sure the bucket is clean and free of any soap residue.
-
Airlock and Stopper: An airlock allows carbon dioxide to escape from the fermentation bucket while preventing oxygen and contaminants from entering. A stopper fits securely in the bucket’s opening and holds the airlock in place.
-
Siphon Hose: A siphon hose is used to transfer the wine from the fermentation bucket to a secondary fermentation vessel without disturbing the sediment.
-
Secondary Fermentation Vessel: A glass carboy or demijohn is commonly used for the secondary fermentation process. It has a narrow neck that helps to minimize oxygen exposure and promote clearer wine.
-
Funnel and Strainer: A funnel and strainer are used to pour the wine into bottles without spilling and to remove any large particles that may have settled in the bottom of the secondary fermentation vessel.
-
Bottles and Corks: Clean, sterile bottles and corks are used to store the finished wine. Make sure the bottles are made of materials that can withstand the pressure generated during fermentation (if any) and are suitable for long-term storage.
-
Hydrometer: A hydrometer is used to measure the specific gravity of the wine must and the finished wine. This helps to determine the alcohol content and the progress of fermentation.
-
pH Meter: A pH meter is used to measure the pH level of the wine must and the finished wine. Maintaining a balanced pH level is crucial for the success of the fermentation process.
-
Thermometer: A thermometer is used to monitor the temperature of the fermentation process. Yeast is sensitive to temperature changes, and maintaining an optimal temperature range is essential for successful fermentation.
Chapter 5: The Fermentation Process
The fermentation process is divided into two stages: primary fermentation and secondary fermentation. Here is a step-by-step guide to each stage:
Primary Fermentation
-
Mixing Ingredients: In a clean fermentation bucket, combine the crushed mulberries, sugar, water, and acid blend. Stir well to ensure that all ingredients are evenly distributed.
-
Adding Yeast: Sprinkle the yeast over the surface of the mulberry mixture. Do not stir, as this can kill the yeast. Allow the yeast to dissolve and begin fermenting naturally.
-
Attaching Airlock: Fit the stopper securely in the bucket’s opening and attach the airlock. Fill the airlock with water to the recommended level.
-
Monitoring Fermentation: Place the fermentation bucket in a cool, dark place. Monitor the fermentation process by observing the airlock for bubbles (a sign of carbon dioxide production). Check the specific gravity using a hydrometer daily until it stabilizes (usually within 5-7 days).
-
Stirring: Stir the mixture gently once or twice a day during the first few days of fermentation to ensure that all ingredients are evenly fermented. After the fermentation slows down, reduce the stirring frequency.
Secondary Fermentation
-
Racking: Once the primary fermentation has subsided (when the specific gravity has stabilized and bubbling in the airlock has slowed), siphon the wine into a clean secondary fermentation vessel (glass carboy). Avoid disturbing the sediment that has settled at the bottom of the fermentation bucket.
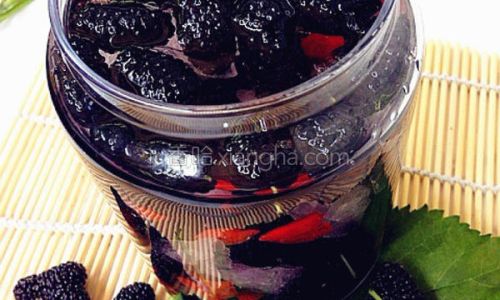
-
Adding Pectic Enzyme: If desired, add pectic enzyme to the wine in the secondary fermentation vessel. Stir gently to distribute it evenly.
-
Fitting Airlock: Fit the stopper and airlock to the secondary fermentation vessel. Continue to monitor the fermentation process by observing the airlock for any remaining bubbles.
-
Clarifying: Over the next few weeks, the wine will continue to clarify as particles settle out. You can speed up this process by adding fining agents like bentonite or gelatin, but this is optional.
-
Tasting and Adjusting: Taste the wine periodically and adjust the sweetness, acidity, and alcohol content as needed. Remember that the wine will continue to change in flavor as it ages.
Chapter 6: Bottling and Aging
Once the wine has completed its secondary fermentation and has clarified to your satisfaction, it is ready to be bottled. Here are the steps involved in bottling and aging mulberry wine:
-
Sanitizing Bottles: Wash the bottles and corks thoroughly with hot, soapy water. Rinse well and then sterilize them using a campden tablet solution or a commercial bottling sanitizer.
-
Siphoning Wine: Use a siphon hose to transfer the wine from the secondary fermentation vessel into the bottles. Be careful
0 comments