Introduction
Pickled turnip, a staple in many cuisines worldwide, offers a tangy, crunchy, and preservative-laden delight that can elevate any meal from mundane to memorable. This traditional咸菜 (preserved vegetable) not only enhances the flavor profile of dishes but also serves as an excellent way to preserve vegetables during off-seasons. While the process may seem intricate to beginners, with the right techniques and ingredients, anyone can master the art of pickling turnips at home. This comprehensive guide will walk you through every step of making pickled turnip, from selecting the perfect turnips to storing the finished product.
Section 1: Understanding the Basics
Before diving into the recipe, it’s crucial to understand the basics of pickling. Pickling is a preservation technique that involves submerging food in a brine (a saltwater solution) or vinegar, often with added spices and herbs, to enhance flavor and extend shelf life. The acidity of the pickling liquid creates an environment hostile to harmful bacteria, thus preserving the food.
1 Choosing the Right Turnips
The quality of your final pickled turnip largely depends on the freshness and quality of the raw ingredients. Look for firm, smooth, and unblemished turnips with a vibrant color. Avoid those with soft spots, cracks, or discoloration as they may rot quickly during the pickling process. Freshness is key; ideally, use turnips harvested within the last few days for the best texture and flavor.
2 Equipment and Tools
To make pickled turnip, you’ll need some basic kitchen equipment:
- A sharp knife for slicing
- A large mixing bowl for preparing the brine
- A clean glass jar or ceramic crock with a tight-fitting lid for fermentation and storage
- A weight or smaller jar to keep the turnips submerged under the brine (a fermentation weight or a smaller, clean jar filled with water can work)
- A clean cloth or cheesecloth to cover the jar if using an open-fermentation method
- A rubber band or string to secure the cloth
- A large spoon or ladle for stirring and transferring
Section 2: Preparing the Turnips
1 Cleaning and Peeling
Start by thoroughly washing the turnips under running water to remove any dirt and debris. Peel the turnips using a vegetable peeler, ensuring all tough outer layers are removed. For a more rustic texture, you can opt to leave the peel on if it’s thin and free of blemishes.
2 Slicing and Salting
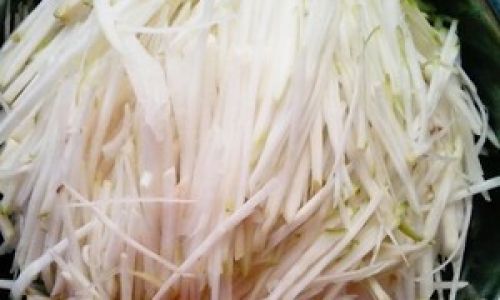
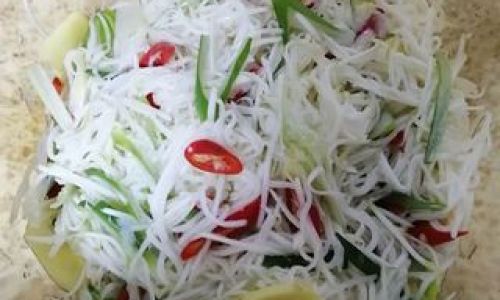
Cut the turnips into uniform slices or shreds, depending on your preference. Uniformity is important as it ensures consistent pickling and texture. Place the sliced turnips in a large mixing bowl and sprinkle with a generous amount of coarse sea salt or kosher salt. The salt will draw out moisture from the turnips, creating a natural brine. Toss the turnips gently to ensure even coating with salt. Let them sit for about 2-4 hours, stirring occasionally, until they release their liquid.
Section 3: Making the Pickling Brine
1 Basic Brine Recipe
While traditional pickling recipes vary, a basic brine consists of water, vinegar, and salt. Here’s a simple recipe:
- 4 cups of distilled white vinegar (for a tangier flavor, use cider or rice vinegar)
- 4 cups of water
- 1/4 cup of non-iodized salt (sea salt or kosher salt is preferable)
- 2-3 tablespoons of sugar (optional, to balance the acidity)
Combine all ingredients in a saucepan and bring to a boil, stirring until the salt and sugar are fully dissolved. Let the brine cool to room temperature before using.
2 Adding Flavor
To elevate your pickled turnip, consider adding various spices and herbs such as:
- Mustard seeds
- Dill seeds
- Garlic cloves, sliced or crushed
- Fresh or dried chili peppers
- Bay leaves
- A piece of fresh ginger, sliced
Adjust the quantities to suit your taste preferences.
Section 4: Pickling the Turnips
1 Draining and Rinsing
Once the turnips have released their liquid, drain them in a colander, reserving the liquid if you plan to use it as part of your brine (though it’s often too salty to use directly). Rinse the turnips under cold water to remove excess salt, then drain well. Pat them dry with a clean kitchen towel or paper towels to remove as much moisture as possible.
2 Combining Ingredients
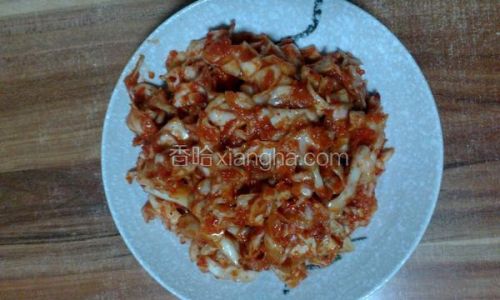
Pack the prepared turnips tightly into your clean glass jar or ceramic crock. Pour the cooled brine over the turnips, ensuring they are completely submerged. If using additional spices and herbs, distribute them evenly throughout the jar.
3 Ensuring Submersion
To prevent mold and ensure successful pickling, it’s crucial to keep the turnips submerged under the brine. Use a fermentation weight, a smaller jar filled with water, or a clean stone to hold down the turnips. Cover the jar with a clean cloth or cheesecloth and secure it with a rubber band or string to allow for gas exchange while preventing contaminants from entering.
Section 5: Fermentation and Storage
1 Fermentation
Place the jar in a cool, dark place away from direct sunlight. The ideal temperature for fermentation is between 65-75°F (18-24°C). Allow the turnips to ferment for about 3-7 days, depending on your taste preference. During this time, the turnips will develop a tangier flavor and may bubble slightly due to natural fermentation.
2 Checking and Tasting
Periodically check the jar for any signs of mold or off odors. A thin layer of harmless yeast or Kahm yeast may form on the surface; simply skim it off with a clean spoon. Taste the turnips daily starting from day 3 to reach your desired level of tanginess.
3 Refrigeration
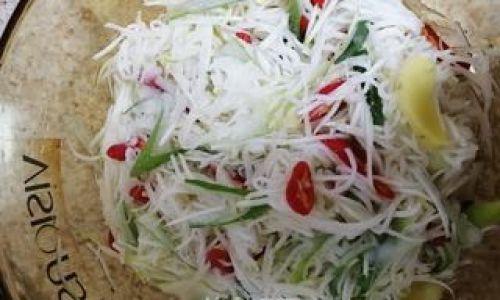
Once you’re satisfied with the flavor, stop the fermentation process by transferring the jar to the refrigerator. This slows down further fermentation and preserves the pickled turnips. They can be stored in the fridge for several months.
Section 6: Serving and Enjoying
1 Serving Suggestions
Pickled turnips can be enjoyed in numerous ways. They make a fantastic addition to sandwiches, burgers, and salads. They also pair well with grilled meats, fish, and poultry, adding a refreshing crunch and tang to your dishes.
2 Troubleshooting
If your pickled turnips turn out too salty, rinse them under cold water and let them drain before serving. If they’re not tangy enough, you can let them ferment a bit longer or add a splash of vinegar when serving.
Conclusion
Making pickled turnip at home is a rewarding endeavor that not only saves money but also allows you to customize the flavor to your liking. With this comprehensive guide, you’ll be able to create delicious, crunchy, and tangy pickled turnips that can be enjoyed throughout the year. Remember, patience is key during the fermentation process, as it allows the natural flavors to develop fully. Happy pickling!
0 comments