Pickling green chili peppers is a time-honored tradition that preserves the fiery freshness of these peppers for enjoyment throughout the year. Whether you’re a seasoned chef or a culinary enthusiast just starting out, mastering the art of pickling can add a vibrant splash of flavor to your dishes. This comprehensive guide will walk you through the step-by-step process of pickling green chili peppers, ensuring you end up with a jar of tangy, crisp, and delicious pickled peppers ready to elevate your culinary creations.
Understanding the Basics of Pickling
Pickling involves preserving food, typically vegetables, in a brine solution that often includes vinegar, salt, and sugar, along with various spices and herbs for added flavor. The acidic environment created by vinegar inhibits the growth of harmful bacteria, thereby extending the shelf life of the food. When it comes to pickling green chili peppers, the goal is not only to preserve but also to enhance their flavor, creating a condiment that can be enjoyed on its own or used as an ingredient in various recipes.
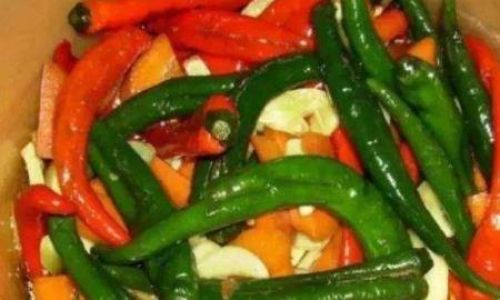
Choosing the Right Green Chili Peppers
The first step in pickling green chili peppers is selecting the right peppers. Look for firm, bright green peppers with smooth, glossy skin. Avoid peppers that have soft spots, wrinkles, or discoloration, as these may indicate spoilage or a lack of freshness. Jalapeños, serranos, and Anaheim peppers are popular choices for pickling due to their flavor and heat level, but feel free to experiment with different varieties to find your preferred taste.
Preparing the Peppers
Once you’ve chosen your peppers, it’s time to prepare them for pickling. Begin by washing the peppers thoroughly under running water to remove any dirt or pesticides. Pat them dry using a clean kitchen towel or paper towels. Next, you have a few options for how to proceed:
-
Whole Peppers: For a milder pickled pepper, you can leave the peppers whole. Simply pierce each pepper a few times with a clean fork or knife to allow the brine to penetrate the flesh.
-
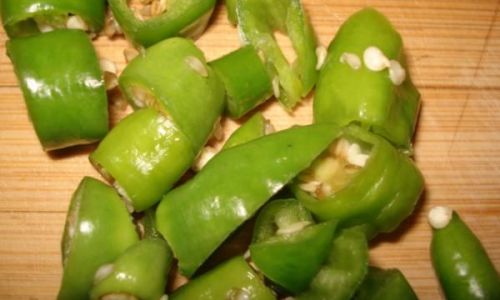
Sliced Peppers: For a more intense flavor and heat, slice the peppers into rings or strips. Removing the seeds and membranes can reduce the heat, but leaving them in will retain more of the pepper’s fiery essence.
-
Stuffed Peppers: For a unique twist, consider stuffing the peppers with herbs, cheeses, or other vegetables before pickling. This method adds layers of flavor and texture.

Making the Pickling Brine
The brine is the key to successful pickling. It creates the acidic environment necessary for preservation and adds flavor to the peppers. Here’s a basic brine recipe:
-
Ingredients:
- 2 cups distilled white vinegar (or apple cider vinegar for a milder taste)
- 1 cup water
- 1/4 cup sugar (optional, for balance)
- 2 tablespoons pickling salt
- 1 teaspoon whole black peppercorns
- 1 teaspoon whole allspice
- 1 teaspoon mustard seeds
- 2-3 cloves of garlic, sliced thin
- 1-2 fresh bay leaves
- 1 small onion, thinly sliced (optional)
-
Instructions:
- In a medium saucepan, combine the vinegar, water, sugar, and salt. Stir until the sugar and salt are fully dissolved.
- Add the peppercorns, allspice, mustard seeds, garlic, bay leaves, and onion slices (if using). Bring the mixture to a boil, then reduce the heat and simmer for about 10 minutes to allow the flavors to meld.
- Remove the brine from heat and let it cool slightly before using.
Pickling the Peppers
Now it’s time to combine the peppers and the brine. Here’s how:
-
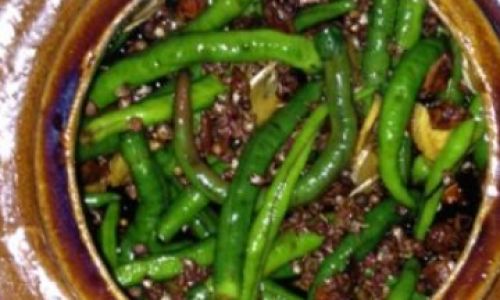
Pack the Peppers: Tightly pack the prepared peppers into clean, sterile glass jars. Make sure to leave about 1/2 inch of headspace at the top of each jar to allow for expansion during storage.
-
Pour in the Brine: Carefully pour the cooled brine over the peppers, ensuring they are fully submerged. Use a clean, non-reactive utensil to press down on the peppers if necessary to eliminate any air bubbles.
-
Seal the Jars: Wipe the rims of the jars clean with a damp cloth, then secure them with tight-fitting lids.
-
Processing the Jars: To ensure safe preservation, you can process the jars in a boiling water canner. Submerge the jars in enough water to cover them by at least 1 inch, then bring the water to a rolling boil and process for 10 minutes. Alternatively, for a quicker, though less traditional method, you can simply refrigerate the jars and consume within a few weeks.
Storing and Enjoying Your Pickled Peppers
Once your jars are processed or refrigerated, allow them to sit for at least a week before opening to allow the flavors to fully develop. Properly pickled peppers can be stored in a cool, dark place for up to a year (if canned) or for several weeks in the refrigerator (if not canned).
Pickled green chili peppers are incredibly versatile. Use them as a topping for burgers, hot dogs, and tacos, or incorporate them into salads, sandwiches, and pasta dishes. They also make a fantastic addition to marinades, sauces, and dips.
In conclusion, pickling green chili peppers is a rewarding culinary endeavor that combines the art of preservation with the joy of flavor creation. By following this comprehensive guide, you’ll be able to enjoy the fiery freshness of pickled peppers year-round, adding a spicy kick to your favorite dishes and exploring new culinary adventures. Happy pickling!


0 comments