Table of content
Tofu, a staple in many Asian cuisines, is a versatile and nutritious food derived from soybeans. Among the various types of tofu, salt-brined tofu (often referred to as firm tofu or pressed tofu) stands out for its dense texture and ability to hold flavors well. This makes it ideal for stir-fries, grilling, and even deep-frying. While the process of making salt-brined tofu may seem intricate at first, with the right techniques and understanding, it becomes a rewarding culinary endeavor. This article delves into the art of crafting salt-brined tofu, sharing tips and tricks to ensure your homemade tofu is both delicious and texturally satisfying.
Understanding the Basics
Before diving into the specifics of making salt-brined tofu, it’s crucial to grasp the foundational steps involved in tofu production. The journey begins with soybeans, which are soaked, ground into a slurry, boiled to extract soy milk, and then coagulated using a coagulant like nigari or gypsum. For salt-brined tofu, salt plays a pivotal role in flavor enhancement and texture modification during the pressing phase.
Ingredients and Equipment
Ingredients:
- 2 cups dried soybeans
- 16 cups water (for soaking and cooking)
- 1/4 cup coagulant (nigari or gypsum) dissolved in 1/2 cup water
- 2-3 tablespoons coarse sea salt (for brining)
Equipment:
- Large bowl for soaking
- Blender or food processor
- Cheesecloth or tofu press
- Large pot
- Slotted spoon
- Measuring cups and spoons
- Large tray or mold for pressing
- Heavy weights (such as books or a kitchen scale with weights)
Step-by-Step Guide
Soaking the Soybeans
Begin by rinsing the soybeans thoroughly under cold running water to remove any dust or impurities. Place them in a large bowl and cover with at least 8 cups of water (double the volume of beans). Soak for 8-12 hours, preferably overnight, in a cool, dark place. Soaking helps soften the beans, making it easier to grind them into a smooth slurry.
Grinding and Boiling
Once the soybeans have soaked sufficiently, drain and rinse them again. Transfer the beans to a blender or food processor, adding a small amount of water (about 1/2 cup) to facilitate blending. Blend in batches until you achieve a smooth, creamy consistency. Be cautious not to overfill the blender to avoid overflow and ensure even blending.
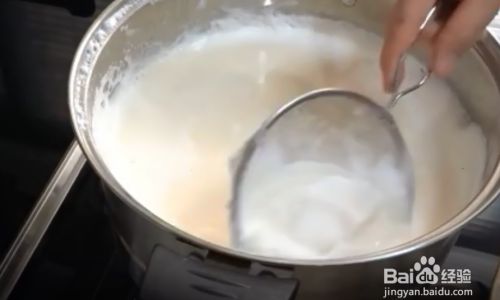
Pour the blended soy milk into a large pot, adding enough water to reach a total volume of about 12-14 cups. Heat the mixture over medium-high heat, stirring occasionally to prevent scorching. Bring it to a gentle boil, then reduce the heat to low and simmer for 5-10 minutes, skimming off any foam that rises to the surface. This step ensures that the soy milk is fully cooked and any impurities are removed.
Coagulation
While the soy milk is still hot, prepare the coagulant solution by dissolving 1/4 cup of nigari or gypsum in 1/2 cup of water. Stir well to ensure complete dissolution.
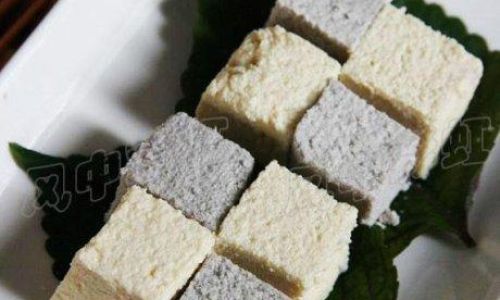
Slowly pour the coagulant solution into the simmering soy milk, stirring gently with a slotted spoon in a circular motion. Be careful not to stir too vigorously as this can disrupt the coagulation process. Once the coagulant is added, stop stirring and let the mixture stand undisturbed for about 10-15 minutes. You will notice the soy milk beginning to curdle, forming soft, fluffy curds separated by whey.
Separating Curds and Whey
Use a slotted spoon to gently scoop out the curds and transfer them to a lined tofu mold or a large tray lined with cheesecloth. Let the remaining whey drain naturally for a few minutes. The key here is to handle the curds delicately to maintain their structure.
Pressing and Brining
Once the curds are collected, fold the cheesecloth over them and begin pressing gently to remove excess whey. For salt-brined tofu, incorporate the salt during this pressing phase. Sprinkle 2-3 tablespoons of coarse sea salt evenly over the curds before applying pressure.
Use a tofu press or stack heavy weights (like books or a kitchen scale loaded with appropriate weights) on top of the cheesecloth-wrapped curds. Press for about 20-30 minutes, adjusting the pressure as needed to achieve your desired firmness. The longer and heavier the press, the firmer the tofu will be.
Finishing Touches
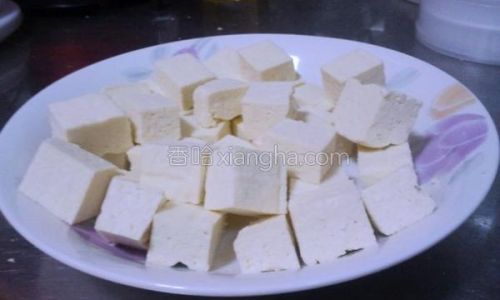
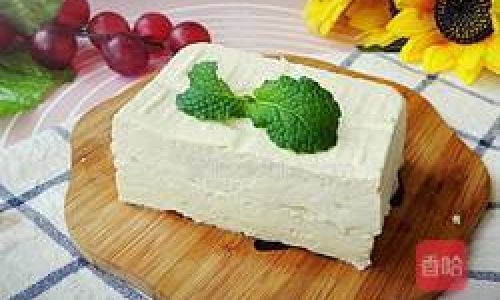
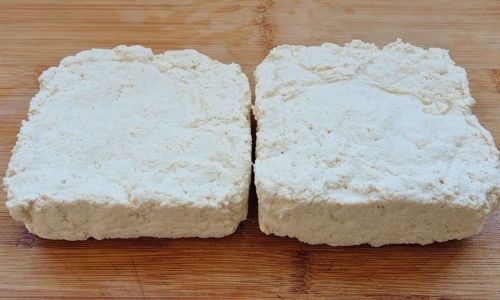
After pressing, carefully unwrap the tofu and inspect its texture. It should be firm yet tender, with a slightly salty flavor. At this point, you can slice the tofu into desired shapes for immediate use or store it in an airtight container submerged in water (change the water daily) in the refrigerator for up to a week.
Tips and Techniques for Perfect Salt-Brined Tofu
-
Quality Soybeans Matter: Use fresh, non-GMO soybeans for the best flavor and texture. Old or stale beans can result in a less than optimal tofu.
-
Temperature Control: Maintaining the right temperature during cooking and coagulation is crucial. Too hot can cause the soy milk to scorch, while too cold can hinder coagulation.
-
Gentle Handling: Be gentle when handling curds to avoid breaking them apart. This ensures a cohesive tofu structure.
-
Salt Adjustment: Experiment with the amount of salt to suit your taste preferences. Remember, the salt not only flavors the tofu but also helps in preserving it.
-
Pressing Techniques: Proper pressing is key to achieving the desired firmness. Use a tofu press if possible, as it makes the process more controlled and efficient.
-
Storage: Always store tofu in water to keep it fresh and moist. Changing the water regularly prevents bacterial growth.
Conclusion
Making salt-brined tofu at home is a rewarding culinary experience that allows you to control the quality and flavor of your ingredients. By following the steps outlined above and incorporating the tips shared, you can craft tofu that is not only delicious but also tailored to your specific tastes and textures. Whether you’re a seasoned chef or a home cook eager to expand your culinary horizons, the art of making salt-brined tofu offers a fulfilling journey into the world of soy-based cuisine. Happy tofu-making!




0 comments