Introduction
In the realm of culinary delights, pickled vegetables hold a unique and timeless charm. Among them, pickled radishes stand out for their crisp texture, tangy flavor, and versatility. Whether served as a side dish, a topping for sandwiches, or an ingredient in salads, pickled radishes can elevate any meal with their refreshing taste. Making pickled radishes at home not only allows you to control the ingredients and seasoning but also ensures that you enjoy this delightful treat fresh and preservative-free. This comprehensive guide will walk you through the art of making pickled radishes, from selecting the perfect radishes to achieving the ideal pickling brine, ensuring that your homemade pickled radishes are a hit every time.

Section 1: Choosing the Right Radishes
The first step in crafting delicious pickled radishes is selecting the right variety. Radishes come in various shapes, sizes, and colors, each offering a slightly different texture and flavor. For pickling, it’s essential to choose radishes that are firm, crisp, and fresh. Avoid those with soft spots, cracks, or discoloration as they won’t hold up well during the pickling process.
Common Varieties:
- Cherry Radishes: Small and round, with a bright red exterior and a mild, slightly sweet flavor.
- Daikon Radishes: Long and cylindrical, with a crisp texture and a mild, slightly spicy taste.
- Watermelon Radishes: Round with a green exterior and white interior, offering a sweet and slightly spicy flavor.
Seasonality:
Radishes are generally available throughout the year, but they are at their peak during the cooler months of spring and fall. Seasonal radishes tend to be more flavorful and crisp, making them ideal for pickling.
Storage:
Once you’ve selected your radishes, store them in a cool, dark place with good ventilation. If you plan to pickle them within a few days, keeping them in a plastic bag in the crisper drawer of your refrigerator is sufficient. However, for longer storage before pickling, wrap them individually in paper towels and place them in a perforated plastic bag to maintain freshness.
Section 2: Preparing the Radishes
Before diving into the pickling process, it’s crucial to prepare the radishes properly. This involves cleaning, trimming, and slicing them to ensure even pickling and optimal flavor extraction.
Cleaning:

Thoroughly wash the radishes under running water to remove any dirt or debris. Use a vegetable brush if necessary to scrub off any stubborn dirt. Pat them dry using a clean kitchen towel or paper towels.
Trimming:
Remove the tops and roots of the radishes. For cherry and watermelon radishes, a simple trim at both ends is sufficient. Daikon radishes may require peeling to remove the tough outer skin.
Slicing:
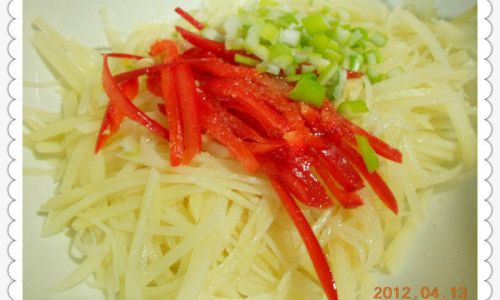
The slicing technique you choose will depend on your preference and the intended use of the pickled radishes. For a crunchy texture and quick pickling, thin slices or matchsticks work well. If you prefer larger pieces, you can quarter or halve the radishes. Just remember that thinner slices will pickle faster and absorb more brine, while thicker pieces will retain their texture and take longer to pickle.
Section 3: Creating the Pickling Brine
The pickling brine is the magic that transforms fresh radishes into tangy, delicious pickles. The brine’s composition can vary, but it typically includes vinegar, salt, sugar, and spices to balance acidity, sweetness, and flavor.
Basic Brine Recipe:
- Ingredients:
- 1 cup distilled white vinegar or apple cider vinegar
- 1 cup water
- 2 tablespoons granulated sugar (optional, for balance)
- 2 tablespoons kosher salt
- 1 teaspoon pickling spices (such as mustard seeds, dill seeds, and peppercorns)
- 1 clove garlic, thinly sliced (optional)
- 1 small piece of fresh ginger, thinly sliced (optional)
Instructions:
- Combine Ingredients: In a medium saucepan, combine the vinegar, water, sugar, and salt. Stir until the sugar and salt are fully dissolved.
- Add Spices: If using, add the pickling spices, garlic, and ginger to the brine. Bring the mixture to a gentle simmer over medium heat. Allow it to simmer for about 5 minutes to infuse the flavors.
- Cool: Remove the saucepan from heat and let the brine cool to room temperature. It’s crucial to use cooled brine to avoid cooking the radishes and losing their crispness.
Section 4: The Pickling Process

Now that you have your prepared radishes and brine, it’s time to combine them and start the pickling process.
Instructions:
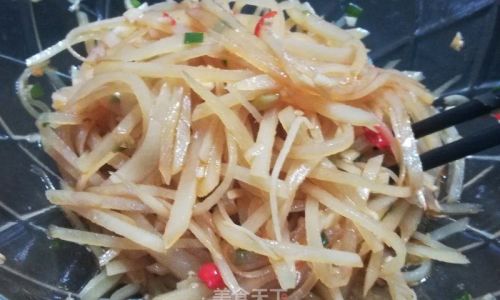
- Pack the Jar: Place the prepared radish slices or pieces into a clean, sterile glass jar. Pack them tightly but not so tightly that they crush each other.
- Pour in the Brine: Carefully pour the cooled brine over the radishes, ensuring they are fully submerged. If necessary, use a weight (like a smaller jar filled with water) to keep the radishes submerged under the brine.
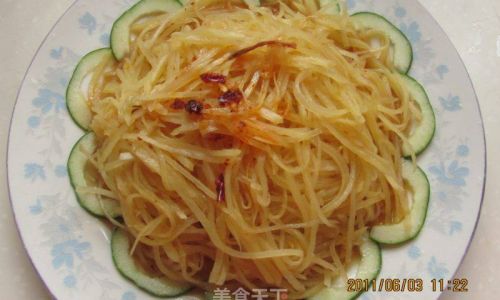
- Seal and Store: Tightly close the jar’s lid and store it in a cool, dark place. For best results, keep the jar at room temperature for the first 24-48 hours to allow the pickling process to begin. After this initial period, you can transfer the jar to the refrigerator to slow down the pickling and extend the shelf life.
Section 5: Flavor Variations and Customizations
Pickled radishes are incredibly versatile, allowing for endless flavor combinations. Here are a few ideas to inspire your pickling adventures:
- Herbed Brine: Add fresh herbs like dill, parsley, or cilantro to the brine for an aromatic twist.
- Spicy Kick: Incorporate red pepper flakes, sliced jalapeños, or a splash of hot sauce for some heat.
- Sweet and Sour: Increase the sugar content and add a bit of lemon juice for a tangier, sweeter brine.
- Infused Oils: After pickling, you can top the radishes with infused oils, such as garlic or chili oil, for an extra layer of flavor.
Section 6: Troubleshooting and Tips
Even with the best intentions, pickling can sometimes present challenges. Here are some troubleshooting tips to ensure your pickled radishes turn out perfectly:
- Soft Radishes: Ensure the radishes are fresh and firm before pickling. Overly mature or damaged radishes will turn soft during pickling.
- Cloudy Brine: Cloudiness can occur due to natural bacteria present on the radishes. It’s generally harmless but can be prevented by using sterile jars and utensils. If the brine becomes too cloudy or develops an off smell, discard it and start anew.
- Strong Vinegar Taste: If you prefer a milder vinegar flavor, reduce the vinegar content slightly and increase the water. Taste the brine before pouring it over the radishes to ensure it’s to your liking.
Conclusion
Making pickled radishes at home is a rewarding culinary endeavor that combines the joy of preservation with the delight of creating a tangy, crisp snack. By following this guide, from selecting the perfect radishes to crafting a flavorful brine and customizing your pickles, you’ll be able to enjoy homemade pickled radishes that are as beautiful as they are delicious. Whether you’re a seasoned pickler or a beginner, the art of pickling radishes offers a delightful way to preserve the flavors of the season and elevate your culinary creations. Happy pickling!


0 comments