Introduction
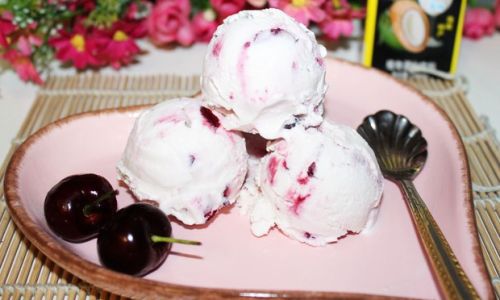
In the realm of culinary arts, ice cream stands as a timeless delight, capable of evoking nostalgia, satisfying sweet tooths, and bringing joy to people across all ages and cultures. Among the myriad of flavors available, coconut-cherry ice cream offers a unique and refreshing twist, blending the tropical allure of coconut with the tart sweetness of cherries. This dessert is not only a treat for the taste buds but also a visual spectacle, with its vibrant pink hue and creamy texture.
Crafting coconut-cherry ice cream at home may seem like a daunting task, but with the right ingredients and a methodical approach, it can become a rewarding endeavor. This guide aims to provide a comprehensive, step-by-step recipe that will enable you to create a professional-grade coconut-cherry ice cream right in your kitchen. Whether you’re a seasoned chef or a home cook with a passion for dessert-making, this recipe promises to deliver an unforgettable experience.
Section 1: Understanding the Ingredients
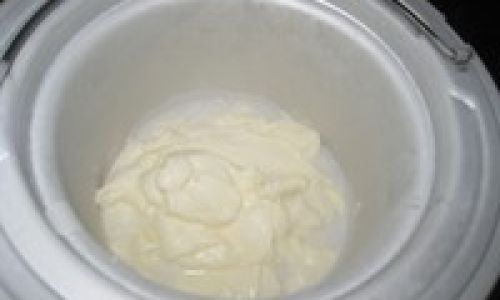
Before diving into the recipe, it’s crucial to understand the role each ingredient plays in creating the perfect coconut-cherry ice cream.
1 Coconut Milk and Cream
Coconut milk and coconut cream form the backbone of this dessert. They provide the rich, creamy texture that defines ice cream. Coconut milk, derived from grated coconut flesh soaked in water and strained, offers a milder coconut flavor. Coconut cream, on the other hand, is thicker and richer, containing a higher fat content, which enhances the smoothness and mouthfeel of the ice cream.
2 Fresh or Canned Cherries
Cherries are the star of this recipe, adding a burst of tart sweetness and a beautiful pink hue. Fresh cherries are ideal for their freshness and natural sweetness, but canned cherries can be a convenient alternative, especially during off-season. When using canned cherries, opt for those packed in water or natural juice to avoid excessive added sugars.
3 Sugar and Vanilla Extract
Sugar balances the tartness of the cherries and enhances the overall sweetness of the ice cream. Vanilla extract adds a subtle, aromatic flavor that complements both the coconut and cherries.
4 Salt
A pinch of salt might seem counterintuitive in a dessert recipe, but it plays a vital role in enhancing the flavors, making them more pronounced and balanced.
5 Egg Yolks (Optional)
For a richer, custard-like texture, egg yolks can be incorporated. They add a luxurious creaminess and help stabilize the ice cream, preventing it from becoming too hard when frozen.
6 Heavy Cream
Heavy cream (or whipping cream) further enriches the texture, ensuring a smooth and velvety mouthfeel.
7 Lemon Juice
A squeeze of lemon juice brightens the flavors and helps to keep the cherries’ natural color vibrant during the freezing process.
Section 2: Preparing the Ingredients
Before beginning the cooking process, ensure all ingredients are properly prepared.
1 Pit and Chop the Cherries
If using fresh cherries, start by washing them thoroughly. Pit the cherries and chop them into halves or quarters, depending on your preference for texture. For canned cherries, drain them well and pat them dry before chopping.
2 Combine Coconut Milk and Cream
Measure out the coconut milk and coconut cream. For best results, use full-fat versions to ensure a rich, creamy texture. Combine them in a mixing bowl and set aside.
3 Prepare the Sugar Mixture
In a separate bowl, combine the sugar, a pinch of salt, and vanilla extract. Mix well to ensure the sugar is evenly distributed.
4 (Optional) Prepare the Egg Yolks
If using egg yolks, place them in a medium bowl and whisk until smooth. Set aside.
Section 3: Cooking the Base
The cooking process involves creating a flavorful base that will be infused with the cherries.
1 Heat the Coconut Mixture
In a heavy-bottomed saucepan, pour in the combined coconut milk and cream. Heat over medium-low heat, stirring occasionally, until it begins to simmer gently. Be careful not to let it boil, as this could cause the coconut milk to separate.
2 Temper the Egg Yolks (if using)
If you’re incorporating egg yolks, slowly ladle a small amount of the hot coconut mixture into the egg yolks, whisking constantly to temper them. This prevents the yolks from scrambling. Once tempered, gradually add the egg yolk mixture back into the saucepan with the remaining coconut mixture, whisking continuously.
3 Add Sugar Mixture
Once the coconut mixture is hot but not boiling, stir in the sugar mixture. Continue to cook, stirring constantly, until the mixture thickens slightly and coats the back of a spoon. This step is crucial for creating a smooth, creamy ice cream texture.
4 Remove from Heat and Cool
Once the mixture has reached the desired consistency, remove it from the heat and let it cool slightly. Stir in the lemon juice and set aside to cool completely. This can be expedited by placing the saucepan in an ice water bath, stirring occasionally.
Section 4: Infusing the Cherries
Now, it’s time to incorporate the cherries into the coconut base.
1 Macerate the Cherries
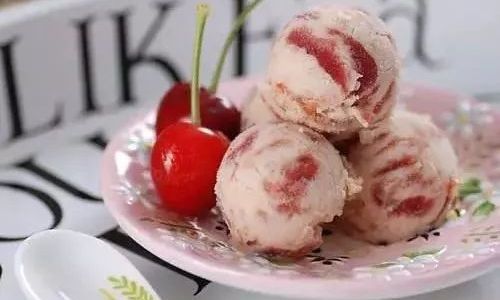
In a bowl, combine the chopped cherries with a small amount of the cooled coconut mixture. Let them sit for a few minutes to macerate, allowing the cherries to release their juices and soften slightly. This step ensures that the cherries are evenly distributed and well-integrated into the ice cream.
2 Combine All Ingredients
Once the coconut mixture has cooled completely, stir in the macerated cherries and any accumulated juices. If desired, you can puree a portion of the cherries to create a ripple effect in the ice cream.
Section 5: Chilling and Freezing
The final steps involve chilling the mixture and freezing it in an ice cream maker.
1 Chill the Mixture
Cover the coconut-cherry mixture and refrigerate it for at least 2 hours or until thoroughly chilled. This step is essential to ensure that the ice cream freezes properly in the ice cream maker.
2 Freeze in an Ice Cream Maker
Follow the manufacturer’s instructions for your ice cream maker. Pour the chilled coconut-cherry mixture into the freezer bowl and churn according to the manufacturer’s guidelines. This process typically takes about 20-30 minutes, or until the mixture reaches a soft-serve consistency.
Section 6: Serving and Storing
Once the ice cream is churned, it’s ready to enjoy, but there are a few tips for serving and storing it.
1 Serving
For immediate enjoyment, scoop the ice cream into bowls or cones and garnish with additional cherries, toasted coconut flakes, or a drizzle of chocolate sauce.
2 Storing
If you’re not serving the ice cream immediately, transfer it to an airtight container and place it in the freezer for up to 2 weeks. Allow it to thaw slightly before scooping to maintain its creamy texture.
Conclusion
Crafting coconut-cherry ice cream at home is a rewarding culinary endeavor that combines the tropical essence of coconut with the sweet-tart allure of cherries. By following this step-by-step recipe, you’ll be able to create a professional-grade ice cream that delights the senses and satisfies the soul. Whether you’re hosting a summer gathering, treating your family to a special dessert, or simply indulging in a personal sweet escape, this coconut-cherry ice cream recipe is sure to become a cherished addition to your culinary repertoire.
Remember, the key to success in ice cream making lies in attention to detail, patience, and a love for the process. Enjoy every step, from preparing the ingredients to savoring the final product, and let the magic of coconut and cherries transform your kitchen into a haven of sweet delights. Happy cooking!
0 comments