Introduction
Banana pudding is a timeless dessert that combines the creamy sweetness of custard with the rich, tropical flavor of bananas. Whether you’re serving it at a family gathering, a summer barbecue, or simply enjoying it as an after-dinner treat, banana pudding is always a hit. While there are many variations of this classic dessert, the basic principles remain the same: a smooth and creamy pudding base, ripe bananas for flavor, and a topping that can range from whipped cream to a crunchy nut mixture. In this comprehensive guide, we’ll walk you through how to make banana pudding from scratch, ensuring you end up with a delicious, satisfying treat that everyone will love.
Section 1: Gathering Your Ingredients
Before you begin, it’s essential to have all your ingredients ready. This not only makes the process smoother but also ensures you have everything you need to create a perfect banana pudding. Here’s a list of what you’ll need:
-
For the Pudding Base:
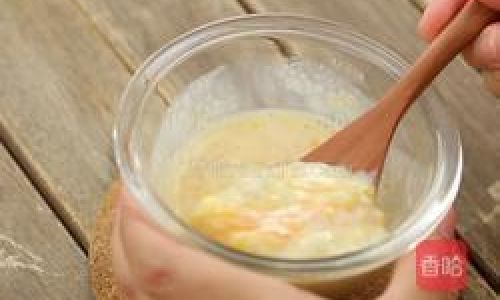
- 2 cups whole milk (you can use 2% if preferred, but whole milk will yield a richer texture)
- 1/3 cup granulated sugar
- 1/4 cup cornstarch
- Pinch of salt
- 2 large egg yolks (beaten)
- 1 teaspoon vanilla extract
- 1 tablespoon unsalted butter (softened)
-
For the Banana Layer:
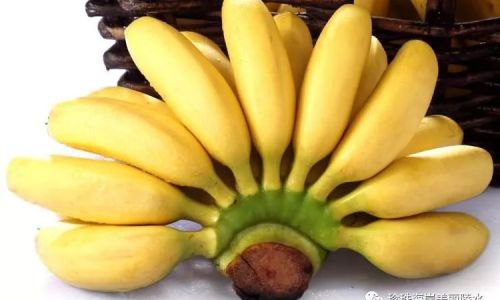
3-4 ripe bananas (sliced)
-
For the Topping (Optional, but Recommended):
- 1 cup heavy whipping cream
- 2 tablespoons powdered sugar
- 1/2 teaspoon vanilla extract
- Nilla wafers or graham crackers (for a crunchy layer)
- Chopped nuts (such as pecans or walnuts, optional)
Section 2: Preparing the Pudding Base
The pudding base is the foundation of your banana pudding, and it’s crucial to get it right. Here’s a step-by-step guide to making the perfect pudding:
-
Whisk Dry Ingredients: In a medium saucepan, whisk together the granulated sugar, cornstarch, and a pinch of salt. This mixture will help thicken your pudding.
-
Add Milk: Gradually whisk in the milk until the mixture is smooth and free of lumps. Make sure to whisk constantly to avoid any clumps forming.
-
Cook Over Medium Heat: Place the saucepan over medium heat and cook, stirring constantly, until the mixture begins to thicken and bubble. This should take about 5-7 minutes. It’s important to stir continuously to prevent the mixture from scorching on the bottom of the pan.
-
Temper the Egg Yolks: In a small bowl, beat the egg yolks until smooth. To temper them, slowly ladle about a half-cup of the hot milk mixture into the egg yolks, whisking constantly. This raises the temperature of the egg yolks gradually, preventing them from scrambling when added to the hot milk mixture.
-
Combine and Cook: Gradually pour the tempered egg yolks back into the saucepan, whisking constantly. Continue to cook for another 2-3 minutes, stirring constantly, until the pudding is thick and coats the back of a spoon.
-
Add Vanilla and Butter: Remove the saucepan from the heat and stir in the vanilla extract and softened butter. The butter will help give the pudding a silky, smooth texture.
-
Cool the Pudding: Pour the pudding into a clean bowl and cover the surface with plastic wrap to prevent a skin from forming. Allow the pudding to cool to room temperature before using it in your banana pudding. You can also refrigerate it for an hour or two to chill it further.
Section 3: Assembling the Banana Pudding
Now that you have your pudding base ready, it’s time to assemble your banana pudding. Here’s how to do it:
-
Prepare Your Baking Dish: Choose a baking dish or trifle bowl that you’d like to use for your banana pudding. A glass trifle bowl is ideal because it allows you to see all the layers, but any baking dish will work.
-
Layer the Wafers or Graham Crackers: Start by placing a layer of Nilla wafers or graham crackers at the bottom of your baking dish. This will provide a crunchy base and help soak up some of the pudding.
-
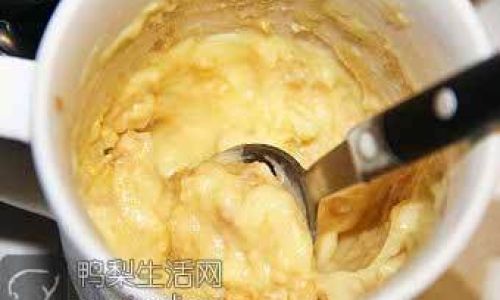
Add the Banana Slices: Arrange a layer of banana slices over the wafers. Make sure the bananas are evenly distributed and slightly overlapping for best coverage.
-
Spoon in the Pudding: Spoon a layer of the cooled pudding over the banana slices, spreading it out evenly with the back of a spoon.
-
Repeat the Layers: Continue layering wafers, bananas, and pudding until you reach the top of your baking dish. You can end with a final layer of pudding for a smooth top, or add another layer of wafers or graham crackers for added crunch.
Section 4: Adding the Topping
While the basic banana pudding is delicious on its own, a topping can elevate it to the next level. Here’s how to make a whipped cream topping and add a crunchy nut mixture:
-
Make the Whipped Cream: In a large mixing bowl, combine the heavy whipping cream, powdered sugar, and vanilla extract. Use an electric mixer to beat the mixture until it forms stiff peaks. This should take about 2-3 minutes on medium-high speed.
-
Spread the Whipped Cream: Spoon or pipe the whipped cream over the top layer of pudding, spreading it out evenly with a spatula.
-
Add Crunchy Toppings (Optional): For an added crunch, sprinkle chopped nuts or crushed wafers over the whipped cream. This not only adds texture but also enhances the flavor.
Section 5: Chilling and Serving
Once your banana pudding is assembled, it needs to chill in the refrigerator for at least a couple of hours to allow the flavors to meld together. This also gives the pudding time to set, making it easier to slice and serve.
-
Chilling Time: Place your assembled banana pudding in the refrigerator and let it chill for at least 2-4 hours. Overnight chilling is even better, as it allows all the flavors to develop fully.
-
Serving: When you’re ready to serve, remove the banana pudding from the refrigerator. Use a spoon to scoop out servings, or slice it into portions if you’ve used a trifle bowl. Garnish with additional banana slices, whipped cream, or nuts if desired.
Conclusion
Making banana pudding from scratch may seem like a daunting task, but with this step-by-step guide, you’ll see that it’s actually quite straightforward. By following the tips and techniques outlined above, you’ll end up with a creamy, delicious banana pudding that’s sure to impress. Whether you’re serving it to family and friends or simply enjoying it by yourself, this classic dessert is always a welcome treat. So, gather your ingredients, roll up your sleeves, and start making your own banana pudding today!





0 comments