Table of content
Making sesame filling, or tahini filling as it’s often known in various culinary traditions, is a delightful culinary endeavor that can elevate your baking and dessert-making skills. Whether you’re crafting traditional Chinese mooncakes, Middle Eastern halva, or simply looking to add a rich, nutty flavor to your pastries, mastering the art of sesame filling is a rewarding experience. This comprehensive guide will walk you through the process, from selecting the right sesame seeds to achieving the perfect consistency and flavor.
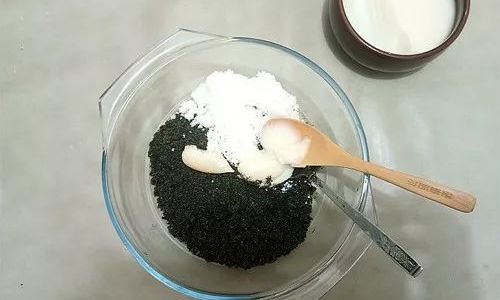
Understanding the Ingredients
Before diving into the recipe, it’s crucial to understand the key ingredients and their roles:
-
Sesame Seeds: The foundation of your filling. White, black, or a blend can be used, each offering a slightly different flavor profile. White sesame seeds are milder and sweeter, while black ones have a richer, nuttier taste.
-
Sugar or Honey: To balance the nutty flavor with sweetness. You can use granulated sugar, powdered sugar, or honey, depending on your preference for texture and taste.
-
Oil: Typically vegetable oil, sesame oil, or butter. It helps to bind the ingredients and achieve a smooth, spreadable consistency.
-
Salt: A pinch to enhance the flavors.
-
Optional Flavorings: Vanilla extract, cinnamon, or a hint of cardamom can add complexity to your filling.
Equipment Needed
- Food Processor or Blender: For grinding the sesame seeds into a paste.
- Saucepan: For cooking the filling, especially if you’re using a wet method.
- Spatula: For mixing and scraping down the sides of the pan or processor bowl.
- Measuring Cups and Spoons: To ensure accurate ingredient proportions.
- Bowl: For mixing the final filling.
- Cooling Rack or Tray: To let the filling cool before using.
Step-by-Step Recipe
Toast the Sesame Seeds
Begin by toasting the sesame seeds. This step is crucial as it brings out their natural oils and enhances their flavor. Preheat your oven to 350°F (175°C) and spread the seeds in a single layer on a baking sheet. Toast for about 5-7 minutes, stirring occasionally to prevent burning. Alternatively, you can toast them in a dry skillet over medium heat, stirring constantly until they turn golden brown and fragrant. Remove from heat and let them cool slightly.
Grind the Seeds
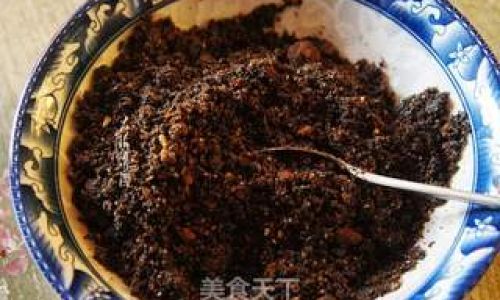
Transfer the toasted seeds to a food processor or blender. Pulse until you achieve a fine, powdery consistency. Be careful not to over-blend, as this can cause the seeds to release too much oil and become pasty. If you prefer a smoother filling, you can gradually add a small amount of oil while blending.
Prepare the Wet Ingredients
In a bowl, mix together your chosen sweetener (sugar or honey) and a pinch of salt. If using honey, it’s best to slightly warm it up to make it easier to mix. If you’re adding any optional flavorings like vanilla extract or spices, do so at this stage.
Combine and Cook (Optional)
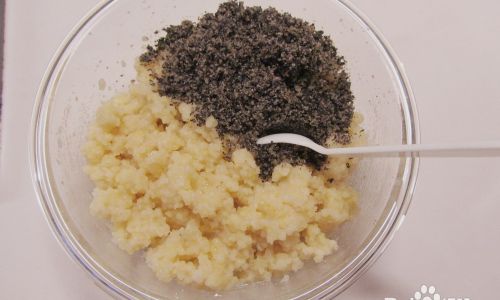
There are two methods to combine the ingredients: the no-cook method and the cooked method.
-
No-Cook Method: Simply add the wet ingredients to the ground sesame seeds in the food processor and blend until well combined. This method yields a fresh, lighter filling.
-
Cooked Method: Transfer the ground sesame seeds to a saucepan. Add the wet ingredients and cook over low heat, stirring constantly, until the mixture thickens and reaches your desired consistency. This method creates a more cohesive, slightly caramelized filling.
Adjust Consistency
If the filling is too thick, you can add a little more oil or a splash of water to reach the desired spreadability. Conversely, if it’s too runny, cook it for a bit longer or add more ground sesame seeds.
Taste and Adjust
Once you’ve achieved the right consistency, taste the filling and adjust the sweetness or seasoning if necessary. Remember, the filling will taste more intense when cold, so err on the side of slightly less sweetness if you’re unsure.
Cool and Use
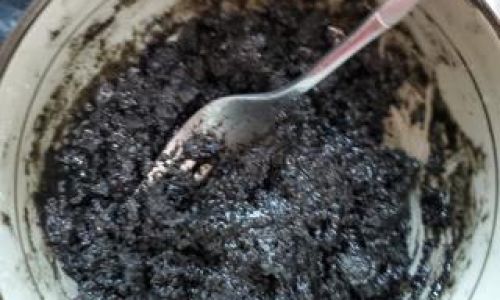
Transfer the filling to a bowl and let it cool completely. This is essential for it to set properly and for handling without it being too sticky. Once cooled, you can use it immediately or store it in an airtight container in the refrigerator for up to a week. If refrigerated, let it come to room temperature or gently warm it before using to soften it.
Tips for Perfect Sesame Filling
- Quality Ingredients: Use fresh, high-quality sesame seeds for the best flavor.
- Control the Heat: When cooking, keep the heat low to avoid scorching the filling.
- Storage: Store the filling in an airtight container to prevent it from drying out or absorbing odors from other foods.
- Experiment: Don’t be afraid to experiment with different flavors and sweeteners to find your perfect sesame filling.
Conclusion
Making sesame filling at home is not only rewarding but also allows you to customize the flavors and textures to your liking. From the moment you toast those fragrant seeds to the final, smooth, sweet filling, each step brings you closer to a culinary masterpiece. Whether you’re crafting traditional treats or simply looking to elevate your baking, this guide will help you master the art of sesame filling. Happy baking!




0 comments