Introduction
In the realm of culinary arts, there exists a unique and intriguing delicacy known as the century egg, or thousand-year-old egg, as it is sometimes called. Traditionally made from duck or chicken eggs, this preserved egg undergoes a chemical transformation that turns its yolk a dark green or greyish-black and its white a translucent, amber hue. While the name might suggest an age-old process, the actual fermentation typically lasts several weeks to months. For those adventurous food enthusiasts looking to infuse their kitchens with a twist of tradition and innovation, making homemade quail century eggs offers a delightful and accessible alternative. Quail eggs, being smaller and more delicate, add an element of elegance and novelty to this timeless dish. In this guide, we will delve into the step-by-step process of crafting your very own quail century eggs at home.
Materials Needed
Before embarking on this culinary journey, ensure you have the following materials and ingredients readily available:
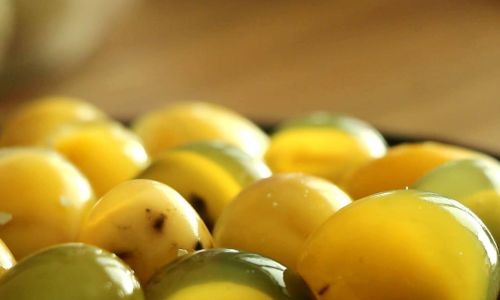
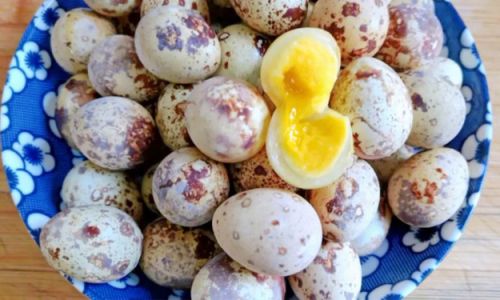
- Fresh quail eggs
- Alkaline solution (typically a mixture of water, lime, ash, or baking soda)
- Rice hulls or sawdust (for packing and insulation)
- A large, non-reactive container (glass or ceramic is preferable)
- Rubber gloves (for handling the alkaline solution)
- A thermometer (to monitor the solution’s temperature)
- Clean cloth or paper towels
- Sealing material (such as plastic wrap or an airtight lid)
- A cool, dark place for storage
Step-by-Step Guide
Step 1: Preparation of the Eggs
Begin by selecting fresh, uncracked quail eggs. It’s crucial to use eggs that are free from cracks or blemishes as these can lead to contamination during the fermentation process. Gently clean the eggs with a damp cloth to remove any dirt or debris without compromising their natural protective coating. Allow them to air-dry completely before proceeding to the next step.
Step 2: Preparing the Alkaline Solution
The alkaline solution is the heart of the century egg-making process. It triggers the chemical reactions that alter the eggs’ appearance and texture. There are various recipes for this solution, but a common and relatively safe method involves using baking soda. Here’s how:
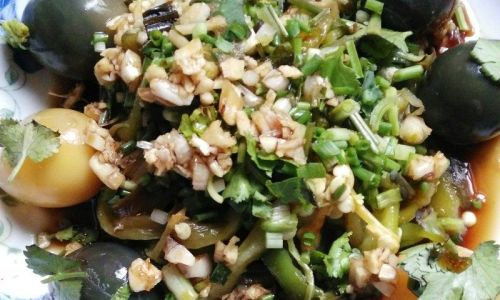
- Dissolve approximately 2-3 tablespoons of baking soda in one liter of distilled water.
- Use a thermometer to ensure the solution is at room temperature. Extremely hot or cold solutions can adversely affect the outcome.
- Wear rubber gloves while handling the solution to protect your skin from irritation.
Step 3: Submerging the Eggs
Carefully place the dried quail eggs into the prepared alkaline solution, ensuring they are fully submerged. Use a spoon or your gloved hand to gently adjust the eggs if necessary, but avoid crushing them. The density of the solution should be such that the eggs float slightly but remain mostly covered. If they sink, you may need to add a bit more baking soda.
Step 4: Sealing and Storage
Cover the container with a tight-fitting lid or securely wrap it with plastic wrap to prevent evaporation and contamination. Label the container with the date to keep track of the fermentation period. Place the container in a cool, dark area where temperatures remain consistent, ideally between 68°F to 77°F (20°C to 25°C). Temperature control is vital as it directly influences the rate of chemical changes within the eggs.
Step 5: Monitoring and Turning
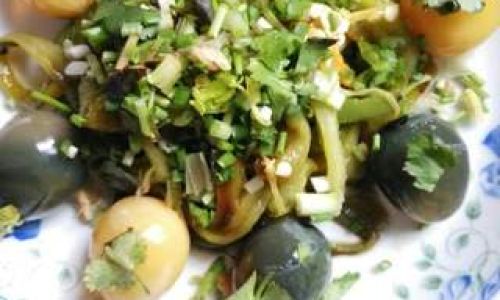
Every few days, gently open the container and use a spoon to gently turn the eggs. This ensures uniform exposure to the alkaline solution, promoting even fermentation. Be cautious not to disturb the solution too much, as this can introduce air bubbles that might adhere to the eggs’ surfaces.
Step 6: Checking Progress
After approximately two weeks, start checking the eggs for signs of transformation. The yolks should begin to darken, and the whites should take on a translucent appearance. Depending on your desired level of fermentation (some prefer a milder flavor with lighter yolks, while others enjoy a stronger taste with darker yolks), you may need to leave the eggs in the solution for an additional week or two. Use a clean spoon and a separate container to remove a test egg for inspection without contaminating the batch.
Step 7: Final Preparation and Storage
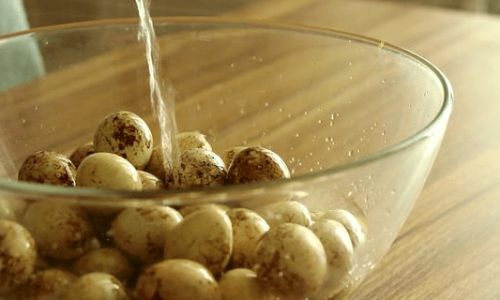
Once you’re satisfied with the eggs’ appearance and texture, carefully remove them from the alkaline solution and rinse them thoroughly under cold running water to stop the fermentation process. Pat them dry using a clean cloth or paper towel. To prevent the eggs from drying out and to maintain their unique texture, pack them in rice hulls or sawdust. This also adds an earthy aroma that complements the flavor of the century eggs.
Store the packed eggs in an airtight container in a cool, dark place. They can be consumed immediately or kept for several weeks, allowing their flavors to further develop and meld.
Serving and Enjoying
Homemade quail century eggs can be enjoyed in numerous ways. Peel them carefully, slice them thinly, and serve as a unique appetizer on their own or incorporate them into salads, noodles, or rice dishes. Their creamy texture and rich, slightly salty flavor make them a delightful addition to any meal.
Conclusion
Making homemade quail century eggs is a rewarding culinary endeavor that combines science, patience, and creativity. It offers a fascinating glimpse into the world of traditional food preservation techniques while allowing you to infuse your cooking with a touch of exoticism. With the right ingredients, tools, and careful attention to detail, you can transform simple quail eggs into a stunning and flavorful delicacy that will impress even the most discerning palate. Happy fermenting!
0 comments