Introduction
Vinegar-pickled radish, a staple in many cuisines around the world, is a testament to the magic of simple ingredients transformed by time and acidity. This crunchy, tangy condiment elevates meals with its refreshing zing, whether served alongside rich meats, tucked into sandwiches, or enjoyed as a standalone snack. While the recipe seems straightforward—radish, vinegar, sugar, salt—the devil lies in the details. Achieving the perfect balance of crisp texture, vibrant flavor, and harmonious acidity requires precision, patience, and a few insider tricks. In this comprehensive guide, we’ll explore the science behind pickling, the nuances of ingredient selection, and the step-by-step process to create vinegar-pickled radish that rivals gourmet store-bought versions. By the end, you’ll not only master a timeless recipe but also gain the confidence to experiment with flavors and textures.
The Science of Pickling: Why Radishes and Vinegar Are a Match Made in Heaven
Before diving into the recipe, it’s essential to understand the chemistry at play. Pickling is a form of preservation that leverages acidity to inhibit microbial growth, extending the shelf life of fresh produce. Radishes, with their high water content and mild peppery flavor, are ideal candidates. When submerged in a vinegar brine, their natural crunch is preserved, while the acid mellows their sharpness, creating a harmonious balance. The addition of sugar and salt isn’t just for flavor; sugar counteracts vinegar’s harshness, while salt draws out moisture, ensuring the radish remains firm rather than soggy.
Ingredients: Quality Matters
The beauty of vinegar-pickled radish lies in its simplicity, but each ingredient plays a pivotal role. Here’s a breakdown of what you’ll need:
-
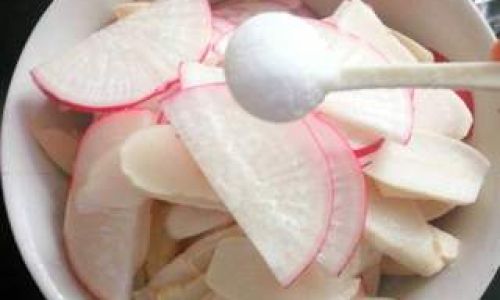
Radishes: Opt for fresh, firm radishes. Daikon radishes, popular in Asian cuisine, offer a mild sweetness and satisfying crunch, while smaller red or white radishes provide a peppery kick. Avoid limp or sprouting specimens, as they indicate age and may yield mushy pickles.
-
Vinegar: The type of vinegar dictates the final flavor profile. Rice vinegar, with its gentle acidity and subtle sweetness, is a classic choice. Apple cider vinegar imparts a fruity tang, while white wine vinegar offers a bright, clean finish. Avoid distilled white vinegar unless you prefer a harsh, one-dimensional acidity.
-
Sugar: White granulated sugar is standard, but honey, agave, or brown sugar can add depth. Adjust quantities based on your sweetness preference.
-
Salt: Kosher or sea salt dissolves evenly and lacks additives. Avoid iodized salt, which can impart a metallic taste.
-
Water: Use filtered water to prevent off-flavors from chlorine or minerals.
-
Optional Enhancements: Red pepper flakes, garlic cloves, ginger slices, or mustard seeds can elevate complexity.
Equipment: Tools of the Trade
- Cutting Board and Knife: A sharp chef’s knife ensures clean, even slices.
- Mandoline Slicer (Optional): For uniform thickness, critical for consistent pickling.
- Mixing Bowl: Non-reactive (glass or stainless steel) to avoid metallic flavors.
- Saucepan: For simmering the brine.
- Jars with Lids: Sterilized glass jars with airtight seals.
- Tongs or Chopsticks: For safely packing radishes into jars.
Step-by-Step Preparation: From Radish to Refrigerator
Prepping the Radishes
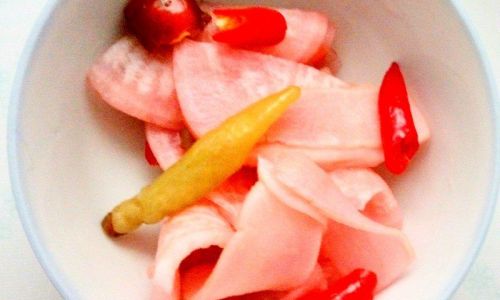
- Wash and Trim: Rinse radishes under cold water, scrubbing off dirt. Trim the root and stem ends.
- Slice Strategically: The cut determines texture. Thin rounds (1/8 inch) yield a delicate crunch, while thick matchsticks (1/4 inch) retain a heartier bite. For daikon, consider spiralizing or shredding for a novel twist.
- Soak in Ice Water (Optional): To maximize crispness, soak sliced radishes in ice water for 30 minutes. This removes excess starch and firms the flesh.
Crafting the Brine
The brine is the soul of the pickle. A typical ratio is 1:1 vinegar to water, with sugar and salt adjusted to taste. Here’s a baseline recipe:
- 1 cup vinegar
- 1 cup water
- 2–3 tbsp sugar
- 1 tbsp salt
Procedure:
- In a saucepan, combine vinegar, water, sugar, and salt.
- Bring to a simmer over medium heat, stirring until sugar and salt dissolve.
- Remove from heat and let cool to room temperature. This prevents cooking the radishes during packing.
Packing the Jars
- Layer Flavors: Place aromatics like garlic, ginger, or chili flakes at the bottom of the jar.
- Pack Tightly: Add radishes, leaving 1/2 inch of headspace. Overcrowding leads to uneven pickling.
- Pour Brine: Ensure radishes are fully submerged. Tap the jar gently to release air bubbles.
- Seal: Close the lid tightly and let cool completely before refrigerating.
The Waiting Game: Patience Is a Virtue
While tempting to dive in immediately, the flavors need time to meld. For mild pickles, wait 24 hours. For full depth, allow 3–5 days. The radishes will transition from bright pink to slightly dulled hues as the brine penetrates.
Troubleshooting Common Pitfalls
- Soggy Radishes: Overcooking the brine or using old radishes. Stick to simmering, not boiling, and opt for fresh produce.
- Cloudy Brine: A sign of harmless lactic acid fermentation. While safe, it indicates air exposure; ensure jars are sealed properly.
- Overly Salty or Sweet: Taste the brine before pouring and adjust seasonings. Remember, flavors will intensify as the pickles mature.
Creative Variations: Beyond the Basics
Once you’ve mastered the classic recipe, unleash your creativity:
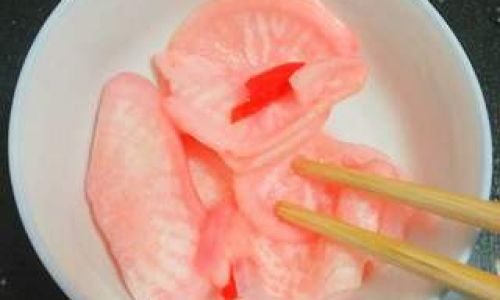
- Spicy Kick: Add sliced jalapeños or a dash of sriracha to the brine.
- Herb-Infused: Tuck in sprigs of dill, thyme, or cilantro.
- Citrus Zing: Grate lemon or lime zest into the brine for a citrusy twist.
- Fermented Radishes: For probiotic benefits, omit vinegar and use a saltwater brine. Ferment at room temperature for 3–7 days until bubbly, then refrigerate.
Serving Suggestions: From Appetizers to Main Courses
- As a Side Dish: Pair with grilled meats, fried rice, or tacos.
- In Salads: Toss with mixed greens, avocado, and toasted nuts.
- On Sandwiches: Layer with roast beef, turkey, or veggie patties.
- As a Garnish: Elevate cocktails like Bloody Marys or gin and tonics.
Storage and Shelf Life
Properly sealed, vinegar-pickled radishes last 3–4 weeks in the refrigerator. Check for signs of spoilage: mold, off-odors, or excessive fizziness. For longer storage, consider canning via water bath, though refrigeration suffices for most home cooks.
Health Benefits: More Than Just Flavor
Radishes are low in calories and high in vitamin C, fiber, and antioxidants. The pickling process preserves these nutrients while introducing probiotics if fermented. The vinegar base aids digestion and may help regulate blood sugar levels.
Conclusion: The Joy of Homemade Pickles
Vinegar-pickled radish is a gateway to the world of preserving—a skill that connects us to culinary traditions spanning centuries. Whether you’re a novice cook or a seasoned home chef, mastering this recipe offers immediate gratification and endless opportunities for customization. The next time you spot a bunch of radishes at the market, seize the chance to transform a humble vegetable into a jar of crispy, tangy magic. Your taste buds—and your guests—will thank you.
Final Tip: Experiment fearlessly. Adjust sweetness, spice, and acidity to suit your palate. After all, the best pickles are the ones made with curiosity and a dash of culinary adventure.



0 comments