Introduction
In the realm of culinary arts, the seemingly simple act of shaping dough into a round ball can be both an art and a science. Whether you’re a seasoned baker or a home cook embarking on your first baking adventure, mastering the technique of how to properly roll, knead, and shape dough into perfect spheres is crucial for achieving a variety of baked goods, from soft, fluffy bread rolls to crisp, golden croissants. This intricate process not only ensures an aesthetically pleasing final product but also plays a pivotal role in the structural integrity and texture of your baked creations. In this comprehensive guide, we’ll delve into the nuances of dough handling, explore the science behind shaping, and provide practical tips to help you turn out impeccably round dough balls every time.
Understanding Dough Composition
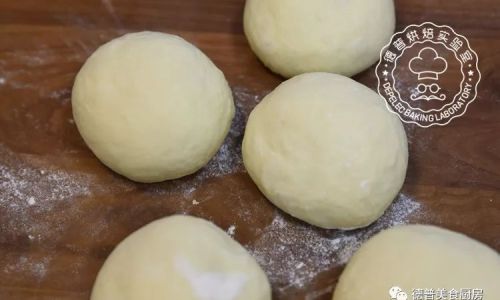
Before diving into the shaping techniques, it’s essential to understand the fundamental components of dough and how they interact. Dough typically consists of flour, water, yeast (or other leavening agents), salt, and sometimes fat or other ingredients. Each component serves a specific purpose:
- Flour provides the structure, giving the dough its gluten network, which is crucial for elasticity and strength.
- Water acts as a solvent, hydrating the flour and enabling the formation of gluten.
- Yeast ferments the dough, producing carbon dioxide gas that causes it to rise.
- Salt enhances flavor and strengthens the gluten structure.
- Fat tenderizes the dough and can affect its rise and final texture.
The balance of these ingredients and their interaction determine the dough’s behavior during shaping. Too much water can make the dough sticky, while too little will result in a dry, crumbly mass. Similarly, over-kneading can develop too much gluten, making the dough tough, while under-kneading will leave it weak and prone to collapsing.
Preparing the Dough
-
Measurement and Mixing: Begin by accurately measuring all ingredients. Use a scale for precision, as even slight variations can affect the dough’s consistency. Combine the dry ingredients (flour, salt, and any other dry additives) in a bowl before adding the wet ingredients (water, yeast, and fat if using). Mix until a shaggy dough forms.
-
Kneading: Transfer the dough to a lightly floured surface and knead for about 8-10 minutes, or until it becomes smooth and elastic. Kneading helps develop the gluten, which gives the dough its stretchy quality. Use the heel of your hand to push the dough away from you and then fold it back over itself. Rotate the dough quarter-turns after each fold to ensure even kneading.
-
First Rise: Place the kneaded dough in a lightly oiled bowl, cover with a clean kitchen towel or plastic wrap, and let it rise in a warm, draft-free place until it has doubled in size. This usually takes about 1-2 hours, depending on the ambient temperature and the activity of the yeast.
Shaping Dough into Spheres: Step-by-Step
Once the dough has completed its first rise, it’s ready for shaping. Here’s a detailed step-by-step guide to achieving perfectly round dough balls:
-
Deflating the Dough: Gently punch down the risen dough to release any trapped gases. This step prevents large air bubbles from forming in your final baked product.
-
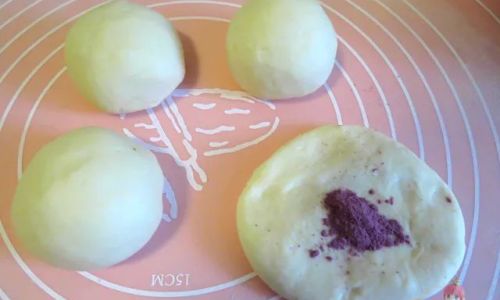
Dividing the Dough: Use a bench scraper or sharp knife to divide the dough into equal portions. The size of each portion will depend on the type of baked good you’re making. For standard dinner rolls, aim for pieces around 75-100 grams each.
-
Pre-shaping: To begin shaping, take one portion of dough and cup it in both hands, with your thumbs tucked underneath and your fingers on top. Gently press down and rotate the dough in a circular motion, stretching it slightly and bringing the edges toward the center to form a tight ball. This pre-shaping step helps create tension in the dough, which is essential for a smooth final shape.
-
Resting: Place the pre-shaped dough balls on a lightly floured surface, cover them with a damp cloth, and let them rest for about 10-15 minutes. This resting period allows the gluten to relax, making the dough easier to shape without tearing.
-
Final Shaping: After resting, take one dough ball and, once again, cup it in both hands. This time, apply more pressure as you rotate, stretching the dough evenly and tucking any seams or imperfections under the surface. Continue until the dough feels firm and taut, with no visible cracks or seams. The goal is to create a smooth, even surface with no weak spots that could cause the dough to collapse during baking.
-
Placing on Baking Sheet: Lightly grease a baking sheet or line it with parchment paper to prevent sticking. Place the shaped dough balls on the sheet, ensuring they have enough space to rise and expand without touching each other.
Second Rise and Baking
-
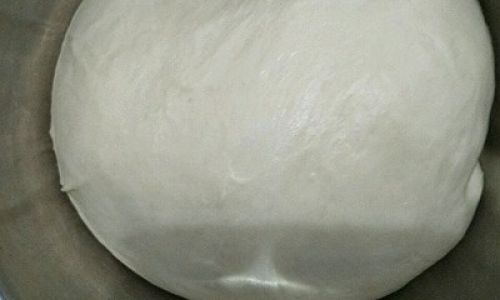
Second Rise: Cover the shaped dough balls with a damp cloth or plastic wrap and let them rise again in a warm place until they have puffed up and are slightly touchy to the touch, usually about 30-60 minutes.
-
Preheating the Oven: While the dough is undergoing its second rise, preheat your oven to the appropriate temperature for your recipe. For most bread and roll recipes, this is typically around 375-400°F (190-205°C).
-
Baking: Once the dough has risen sufficiently, place the baking sheet in the preheated oven. Bake until the dough is golden brown and has reached an internal temperature of at least 190°F (88°C), usually around 12-20 minutes depending on size.
-
Cooling: Remove the baked goods from the oven and transfer them to a wire rack to cool completely. This step is crucial for allowing the internal structure to set properly, ensuring a soft, tender crumb.
Troubleshooting Common Issues
- Sticky Dough: If the dough is too sticky, add a small amount of flour (a tablespoon at a time) during kneading or shaping.
- Tough Dough: Over-kneading can lead to a tough texture. Aim for a smooth, elastic dough without excessive kneading.
- Uneven Rising: Uneven shaping can cause the dough to rise irregularly. Ensure each ball is tightly sealed with no seams or cracks.
- Collapsed Dough: This often happens due to under-proofing or weak gluten structure. Make sure the dough has risen sufficiently and has been properly shaped.
Conclusion
Shaping dough into perfect spheres is a skill that takes practice and patience but is well worth the effort. By understanding the components of dough, following the proper preparation and shaping techniques, and troubleshooting common issues, you can achieve beautifully round, evenly baked goods that are not only visually appealing but also delicious and structurally sound. Whether you’re baking for a family dinner or a professional bakery, mastering this fundamental skill will elevate your baking to new heights. Happy baking!



0 comments