Cooking a one-sided fried egg, also known as a sunny-side up egg, might seem like a straightforward task. However, achieving that perfect golden-brown crust while keeping the yolk runny and the whites fully set requires a delicate balance of technique, timing, and the right tools. Whether you’re a seasoned chef or a home cook looking to impress, this guide will walk you through the step-by-step process of mastering the art of cooking a one-sided fried egg. From selecting the right pan and heat level to understanding the science behind egg cooking, we’ll cover everything you need to know to create a restaurant-quality dish right in your kitchen.
Understanding the Basics
Before diving into the specifics of cooking, it’s crucial to understand the fundamental principles involved in frying an egg. The key to a successful one-sided fried egg lies in controlling the heat and ensuring even cooking. Too high heat will burn the edges before the whites are fully set, while too low heat will result in a watery, undercooked egg. Additionally, the quality of the egg itself plays a significant role. Fresh eggs with firm, thick whites are ideal for frying.
Choosing the Right Equipment
-
Pan Material: Non-stick pans are the best choice for frying eggs as they prevent sticking and make flipping unnecessary, which is crucial for a true one-sided egg. Stainless steel or cast iron pans can also be used, but they require more oil to prevent sticking and may result in a slightly different texture.
-
Pan Size: A small to medium-sized pan is ideal. A larger pan can spread the heat too thinly, making it harder to maintain an even cooking temperature.
-
Spatula: A flexible, heat-resistant spatula is useful for gently lifting the edges of the egg to check for doneness without breaking the yolk.
-
Butter or Oil: Both can be used, but butter adds a rich, creamy flavor. Make sure the butter is unsalted to avoid over-seasoning the egg. Olive oil or avocado oil are good alternatives for a neutral taste.
Preparing the Pan
-
Heating the Pan: Place your pan on the stove over medium-low to medium heat. Preheating the pan ensures that the egg starts cooking immediately upon contact, promoting even cooking.
-
Adding Fat: Add a small amount of butter or oil to the pan. Let it melt and coat the bottom evenly. The fat should be hot but not smoking.

Cracking and Cooking the Egg
-
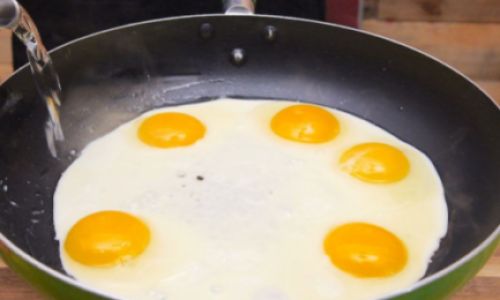
Cracking the Egg: Crack the egg gently on the side of the bowl or counter. Open it carefully over the pan, letting the whites and yolk slide out in one piece. Avoid breaking the yolk, as this is part of the charm of a one-sided egg.
-
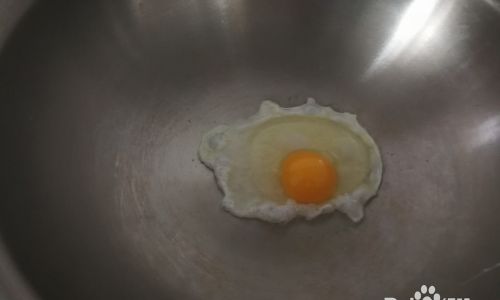
Initial Cooking: Allow the egg to cook undisturbed for about 2-3 minutes. The edges of the white should start to set and turn opaque. If using a non-stick pan, you won’t need to flip the egg.
-
Controlling the Heat: Adjust the heat as needed. If the whites are browning too quickly, reduce the heat. If they’re taking too long to set, slightly increase it. Patience is key here; rushing will compromise the final result.
Basting (Optional but Recommended)
To ensure even cooking, especially if you’re using a thicker pan or the heat distribution isn’t perfect, you can use a technique called basting. This involves spooning hot fat from the pan over the top of the egg whites. This helps to cook the top layer of the whites without flipping the egg, ensuring a perfectly set exterior while keeping the yolk runny.
Checking for Doneness
Gently lift the edges of the egg with your spatula to peek at the whites. They should be fully set but still moist. The yolk should remain runny but not raw. If you prefer a firmer yolk, cook for an additional 30 seconds to 1 minute, but be mindful of overcooking.
Seasoning and Serving
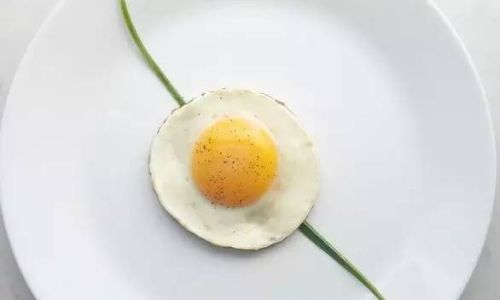
Once the egg is cooked to your liking, remove it from the pan with a spatula and place it on a plate lined with a paper towel to drain any excess fat. Season immediately with a pinch of salt and freshly ground black pepper. The heat from the egg will help the salt to melt and flavor the egg evenly.
Tips for Perfection
- Freshness Matters: Always use fresh eggs. Older eggs have thinner whites that are more prone to spreading and breaking.
- Room Temperature Eggs: For even cooking, let your eggs sit at room temperature for about 30 minutes before cooking. Cold eggs can cause the whites to set unevenly.
- Practice Makes Perfect: Like any cooking skill, frying a one-sided egg takes practice. The more you do it, the better you’ll get at controlling the heat and timing.
- Experiment with Flavors: Once you’ve mastered the basics, feel free to experiment with different seasonings and toppings. A sprinkle of cheese, herbs, or a drizzle of hot sauce can elevate your one-sided egg to new heights.
In conclusion, cooking a perfect one-sided fried egg is an art that combines science, technique, and a bit of intuition. By following the steps outlined above and practicing regularly, you’ll soon be able to produce a golden, runny-yolked masterpiece that will delight your taste buds and impress your guests. Remember, the key to success is patience, attention to detail, and a willingness to experiment until you find what works best for you. Happy frying!
0 comments