Introduction
Braised chicken feet, a dish often overlooked but deeply cherished by many food enthusiasts, represent a culinary delight that combines tender texture with rich, savory flavors. This dish, though seemingly simple, requires meticulous attention to detail and a well-balanced blend of spices to achieve perfection. Whether you’re a seasoned chef or a home cook eager to impress, mastering the art of braising chicken feet can elevate your culinary repertoire and delight the taste buds of your loved ones. In this comprehensive guide, we’ll delve into every aspect of making delicious braised chicken feet, from selecting the right ingredients to perfecting your braising technique. By the end, you’ll be equipped with the knowledge and skills necessary to create a dish that’s both visually appealing and bursting with flavor.
Chapter 1: Understanding the Basics
Before diving into the recipe, it’s crucial to understand the fundamentals of braising and the unique qualities of chicken feet that make them ideal for this cooking method. Braising is a cooking technique that involves searing meat first to create a flavorful brown crust, then slow-cooking it in a covered pot with a small amount of liquid. This process allows the meat to become tender and flavorful, as the low and slow heat breaks down tough fibers and allows the flavors of the liquid and spices to penetrate deeply.

Chicken feet, often dismissed as a mere byproduct of poultry processing, are actually a treasure trove of collagen and gelatin, which give braised dishes their signature silky, mouth-coating texture. They also contain a surprising amount of flavor, especially when cooked properly. When braised, chicken feet transform into a succulent, almost luxurious treat that’s both satisfying and nutritious.
Chapter 2: Selecting and Preparing the Chicken Feet
The first step in making delicious braised chicken feet is selecting the right ingredients. Here are some key considerations:
1 Source and Freshness
Always opt for fresh chicken feet from a reputable supplier. Frozen feet can be used, but ensure they’re properly thawed before cooking. Avoid feet that have a strong odor or appear discolored, as these are signs of spoilage.
2 Cleaning and Trimming
Thoroughly clean the chicken feet by rinsing them under cold running water. Use a paring knife or scissors to trim away any excess skin, nails, or feathers. This step is crucial for both aesthetic appeal and ensuring a clean, pleasant-tasting final dish.
3 Blanching
Blanching the chicken feet helps to remove impurities, tighten the skin, and set the color. Place the cleaned feet in a pot of boiling water and cook for about 2-3 minutes. Remove them immediately with a slotted spoon and plunge them into ice water to stop the cooking process. Pat them dry with paper towels before proceeding with the recipe.
Chapter 3: Assembling the Aromatics and Spices

The key to a flavorful braised dish lies in the harmonious blend of aromatics and spices. Here’s a list of essentials, along with their roles in the recipe:
1 Aromatics
- Ginger: Provides a fresh, slightly spicy flavor that helps to cut through the richness of the dish.
- Garlic: Adds depth and complexity to the braising liquid.
- Scallions: Offer a mild oniony flavor and a hint of sweetness.
- Star Anise: Its licorice-like aroma adds a unique dimension to the dish.
- Cinnamon Sticks: Provide warmth and a subtle sweetness.
- Cloves: Add a hint of spice and depth.
2 Spices
- Soy Sauce: Adds savory umami flavor and a rich, dark color.
- Oyster Sauce: Enhances the dish’s overall flavor profile with its savory, slightly sweet taste.
- Shaoxing Wine: Adds a layer of complexity and a hint of sweetness. Substitute with dry sherry if unavailable.
- Rock Sugar: Balances the flavors and adds a touch of sweetness.
- Dark Soy Sauce: Deepens the color and adds a slightly caramelized flavor.
- White Peppercorns: Provide a gentle heat and a fresh, aromatic flavor.
Chapter 4: The Braising Liquid
The braising liquid is the heart of the dish, and its composition will greatly influence the final flavor. Here’s a step-by-step guide to creating a perfect braising liquid:
1 Making the Stock
Begin by making a simple chicken or vegetable stock. This will provide the foundation for the braising liquid and add additional flavor. You can use homemade stock or a high-quality store-bought variety.
2 Combining Ingredients
In a large, heavy-bottomed pot or Dutch oven, combine the stock with the aromatics (ginger, garlic, scallions, star anise, cinnamon sticks, and cloves) and spices (soy sauce, oyster sauce, Shaoxing wine, rock sugar, dark soy sauce, and white peppercorns). Bring the mixture to a simmer over medium heat, stirring occasionally to ensure the sugar and spices are well-dissolved.
Chapter 5: The Braising Process

Now that you have your braising liquid ready, it’s time to cook the chicken feet. Here’s a detailed breakdown of the braising process:
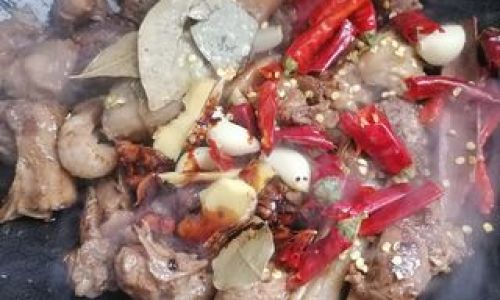
1 Searing the Chicken Feet
Preheat a large skillet over medium-high heat and add a small amount of oil. Sear the chicken feet, in batches if necessary, until they’re golden brown on all sides. This step not only adds flavor but also helps to create a caramelized crust that will enhance the dish’s overall texture and appearance.
2 Adding to the Pot
Transfer the seared chicken feet to the pot of braising liquid, ensuring they’re submerged. If necessary, add more stock or water to cover the feet completely. Bring the liquid to a gentle simmer, then reduce the heat to low, cover the pot, and let the chicken feet braise.
3 Cooking Time and Temperature
The cooking time for braised chicken feet can vary depending on the size and age of the feet, as well as your personal preference for texture. Generally, braising for about 1.5 to 2 hours will yield tender, flavorful feet. It’s important to maintain a gentle simmer throughout the cooking process, as too high a heat can cause the liquid to evaporate too quickly and the feet to become dry.
4 Checking for Doneness
After the initial braising time, check the chicken feet for doneness. They should be tender and easily pierced with a fork. If they’re not quite done, continue braising in increments of 30 minutes until they reach your desired texture.
Chapter 6: Finishing Touches

Once the chicken feet are cooked to perfection, there are a few final steps to ensure your dish is both visually appealing and bursting with flavor:
1 Adjusting Seasoning
Taste the braising liquid and adjust the seasoning as needed. You may want to add more soy sauce for saltiness, rock sugar for sweetness, or white pepper for heat. Remember, the flavors should be balanced and harmonious.
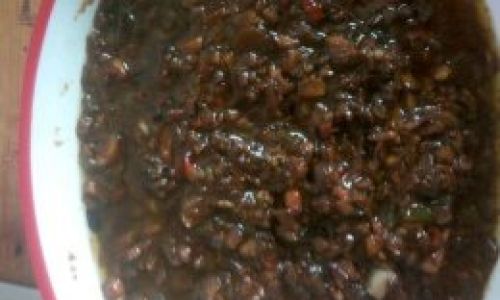
2 Thickening the Sauce
If you prefer a thicker sauce, you can remove the chicken feet from the pot and let the liquid reduce over medium heat until it reaches your desired consistency. Alternatively, you can make a slurry with cornstarch and water, then stir it into the braising liquid to thicken it.
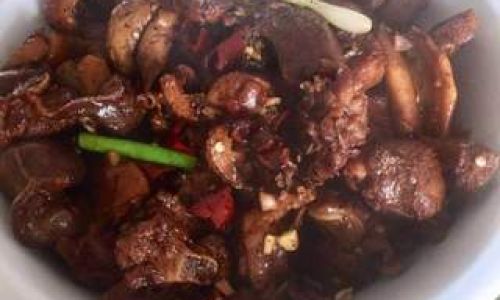
3 Garnishing
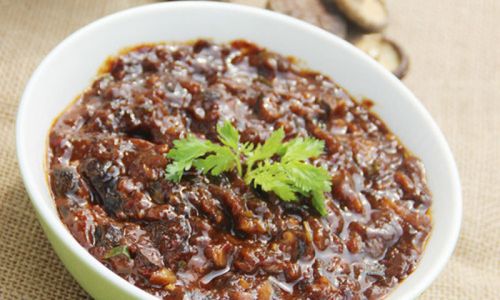
Garnish the braised chicken feet with chopped scallions, sesame seeds, or chopped cilantro to add a fresh, bright flavor and a pop of color. This step is optional but highly recommended for enhancing the dish’s presentation and overall appeal.
Chapter 7: Serving and Enjoying
Your delicious braised chicken feet are now ready to serve. Here are a few serving suggestions to make the dish even more enjoyable:
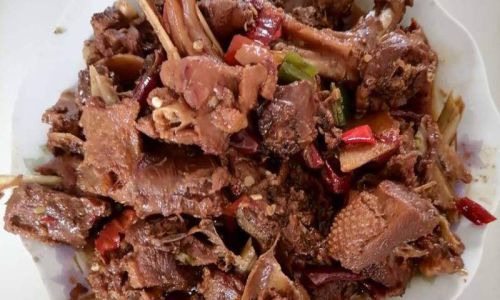
1 As a Main Dish

Serve the braised chicken feet as a main dish with steamed rice or noodles to soak up the flavorful sauce. They also pair well with a side of stir-fried vegetables or a light salad.
2 As an Appetizer
For a more elegant presentation, serve the chicken feet as an appetizer. Arrange them on a platter with toothpicks for easy eating, and accompany them with a dipping sauce made from a mixture of soy sauce, sesame oil, and chopped scallions.
3 Storing and Reheating
Leftover braised chicken feet can be stored in an airtight container in the refrigerator for up to 3 days. To reheat, place them in a covered dish with a splash of the braising liquid and warm them in the oven at a low temperature until heated through.
Conclusion
Mastering the art of making delicious braised chicken feet requires patience, attention to detail, and a well-balanced blend of spices and aromatics. By following the steps outlined in this guide, you’ll be able to create a dish that’s not only visually appealing but also

0 comments