Pickling vegetables is a time-honored tradition that preserves the freshness and flavor of produce for extended periods. Among the myriad of vegetables that lend themselves well to pickling, chives blossoms stand out for their unique aroma and delicate taste. While many might overlook these tiny, often overlooked flowers, they can transform into a delightful pickle that enhances the flavor of various dishes. This guide delves into the intricacies of how to pickle chives blossoms for a taste that is both refreshing and satisfying. By following these steps, you’ll be able to create a pickle that complements your meals and impresses your guests.
Understanding Chives Blossoms
Before diving into the pickling process, it’s essential to understand what chives blossoms are and why they are worth pickling. Chives (Allium schoenoprasum) are a type of herb belonging to the onion family. They are characterized by their long, slender green leaves and, come summer, delicate purple or white flowers. These flowers, known as chives blossoms, have a mild onion flavor with a hint of sweetness and a floral aroma.
Chives blossoms are not just ornamental; they are edible and can be used in various culinary applications. Pickling them not only preserves their fresh flavor but also adds a tangy, acidic note that pairs well with many dishes. Pickled chives blossoms can be used as a garnish, added to salads, or incorporated into sandwiches and wraps for an extra layer of flavor.
Selecting the Right Chives Blossoms
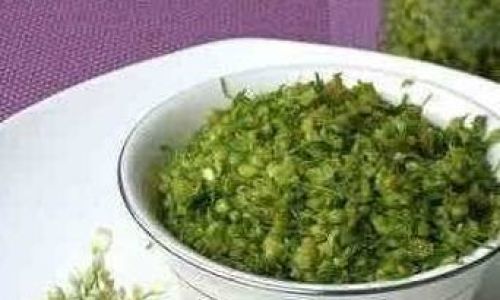
The quality of your pickled chives blossoms largely depends on the freshness and quality of the flowers you start with. Here are some tips for selecting the best chives blossoms:
-
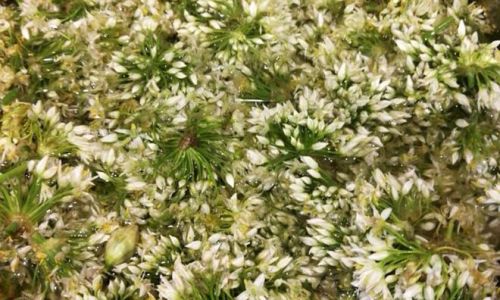
Timing is Key: Harvest chives blossoms when they are fully open but still fresh. Avoid picking blossoms that are wilting or have started to turn brown.
-
Color Matters: Look for blossoms that are a vibrant purple or white, depending on the variety. Dull or faded colors can indicate that the blossoms are past their prime.
-
Scent Check: Fresh chives blossoms should have a mild oniony scent with a hint of sweetness. If they smell overly strong or have no scent at all, they may not be the best choice for pickling.
-
Pesticide-Free: If possible, choose organic chives to avoid any residual pesticides that might affect the taste and safety of your pickled blossoms.
Preparing the Chives Blossoms for Pickling
Once you’ve selected the perfect chives blossoms, it’s time to prepare them for pickling. This involves a few crucial steps to ensure that your final product is both safe to eat and delicious.
-
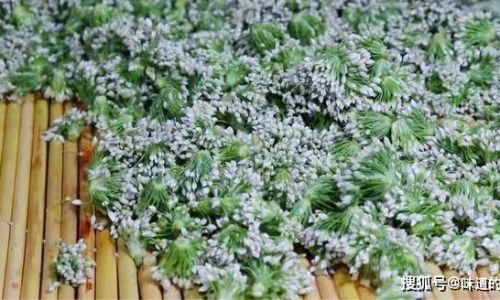
Rinsing and Drying: Gently rinse the blossoms under cold running water to remove any dirt or debris. Pat them dry using a clean kitchen towel or let them air-dry on a paper towel-lined tray. Ensuring that the blossoms are completely dry is crucial to prevent mold during the pickling process.
-
Trimming: Remove any stems or leaves that are attached to the blossoms. You want to pickle just the flowers for the best texture and flavor.
-
Inspecting: Carefully inspect each blossom for any signs of damage or insects. Discard any that don’t meet your quality standards.
Choosing the Pickling Ingredients
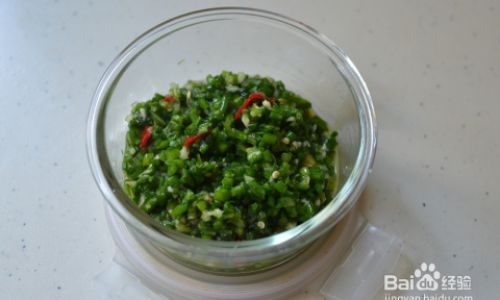
The success of your pickled chives blossoms also hinges on the ingredients you use. Here’s a list of essentials and some optional additions to consider:
-
Vinegar: Use a high-quality vinegar such as apple cider vinegar, white wine vinegar, or rice vinegar. The type of vinegar you choose will influence the final flavor, so select one that complements the mild oniony taste of the blossoms.
-
Salt: Salt not only enhances flavor but also acts as a preservative. Use kosher or pickling salt, which has larger grains and dissolves slowly, preventing over-salting.
-
Sugar: A small amount of sugar helps to balance the acidity of the vinegar and adds a touch of sweetness to the pickles. You can use granulated sugar, honey, or agave nectar.
-
Spices and Herbs: For added complexity, consider incorporating spices like mustard seeds, dill seeds, or red pepper flakes. Fresh herbs like dill, parsley, or thyme can also be added for an aromatic boost.
-
Water: If you prefer a less intense vinegar flavor, you can mix vinegar with water in a ratio that suits your taste.
The Pickling Process
Now that you have your ingredients and prepared chives blossoms, it’s time to start pickling. Here’s a step-by-step guide:
-
Making the Pickling Brine: In a non-reactive pot (such as stainless steel or enamel-coated), combine vinegar, water (if using), salt, and sugar. Heat the mixture over medium heat until the sugar and salt are fully dissolved. If using spices or herbs, add them to the pot and let the mixture simmer for a few minutes to allow the flavors to meld.
-
Sterilizing Jars: While the brine is heating, sterilize your pickling jars and lids. This can be done by boiling them in water for a few minutes or running them through the dishwasher on the sanitize setting.
-
Packing the Blossoms: Once the brine has cooled slightly (it should still be warm, but not boiling), pack the prepared chives blossoms tightly into the sterilized jars. Make sure to leave some headspace at the top to allow for expansion during storage.
-
Pouring the Brine: Carefully pour the warm brine over the blossoms, ensuring they are fully submerged. Use a chopstick or a small ladle to remove any air bubbles that form.
-
Sealing and Storing: Secure the lids on the jars and let them cool to room temperature. Once cool, check the seals to ensure they are tight. Store the jars in a cool, dark place for at least a week before opening to allow the flavors to develop.
Serving and Enjoying Pickled Chives Blossoms
After the waiting period, your pickled chives blossoms are ready to enjoy. Here are some ways to incorporate them into your meals:
-
Garnish: Use them as a colorful and flavorful garnish for soups, salads, or grilled dishes.
-
Appetizers: Serve them as a standalone appetizer with crusty bread or crackers.
-
Salads: Add them to mixed green salads for a burst of tangy, oniony flavor.
-
Sandwiches and Wraps: Incorporate them into sandwiches, wraps, or burgers for an unexpected twist.
-
Condiment: Use them as a condiment for grilled meats, fish, or vegetables.
Troubleshooting and Tips
-
Mold Prevention: If you notice mold forming on the surface of your pickles, it’s likely due to improper sealing or contamination. Discard any moldy pickles and ensure that your jars are properly sealed and stored in a clean environment.
-
Adjusting Flavor: If your pickles are too tangy, you can add a bit more sugar to the next batch. If they lack flavor, consider increasing the amount of spices or herbs.
-
Storage: Pickled chives blossoms can be stored in a cool, dark place for several months. Once opened, refrigerate the jar and consume within a few weeks for best quality.
Conclusion
Pickling chives blossoms is a delightful way to preserve their fresh flavor and add a unique twist to your culinary repertoire. By following the steps outlined in this guide, you’ll be able to create pickles that are not only visually appealing but also bursting with flavor. Whether you’re a seasoned pickler or new to the art, pickling chives blossoms is a rewarding endeavor that will enhance your meals and impress your guests. So, why wait? Gather your ingredients, prepare your blossoms, and start pickling today!

0 comments