Table of content
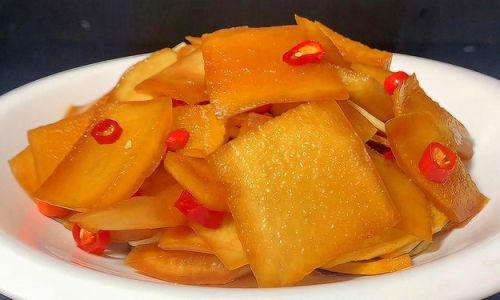
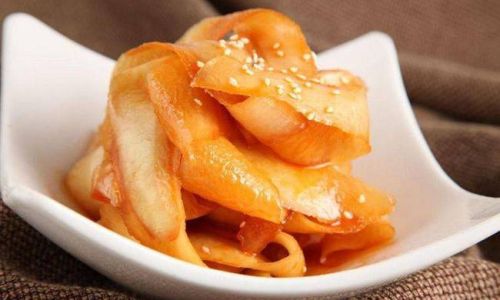
Pickling radish peels is a delightful way to transform what is often discarded into a crunchy, tangy, and flavorful snack or side dish. While many recipes focus on the fleshy interior of radishes, the skin, when prepared correctly, can offer a unique texture and burst of flavor that complements a variety of meals. This guide will walk you through the process of pickling radish peels, ensuring they retain their crispiness while absorbing the rich, tangy flavors of the brine. By the end, you’ll have a jar of delicious, homemade pickled radish peels ready to enjoy.
Understanding Radish Peels
Before diving into the pickling process, it’s essential to understand the characteristics of radish peels. Radishes come in various varieties, from the common red-skinned ones to white, black, and even green-skinned varieties. Regardless of their color, radish peels are typically thin but sturdy, capable of holding up well to pickling if handled properly. They contain natural sugars and a slight bitterness that, when balanced with the right pickling ingredients, can create a delightful contrast in flavor.
Selecting the Right Radishes
The quality of your radish peels begins with the radishes themselves. Here are some tips for selecting the best radishes for pickling:

-
Freshness: Opt for fresh, firm radishes with smooth, unblemished skins. Avoid those that are soft, wrinkled, or have spots, as these indicators suggest they are past their prime.
-
Size: While smaller radishes can be easier to peel, larger ones often have thicker peels, which are ideal for pickling. Aim for a balance that suits your preference and peeling ability.
-
Variety: Different radish varieties have distinct flavors and textures. Experiment with a few to see which you prefer for pickling. Red radishes offer a classic look and mild flavor, while black radishes can add a sophisticated touch and a slightly stronger taste.
Preparation and Peeling
Once you’ve selected your radishes, it’s time to prepare them for pickling. Here’s a step-by-step guide:
-
Cleaning: Rinse the radishes thoroughly under cold running water to remove any dirt or debris. Pat them dry using a clean kitchen towel or paper towels.
-
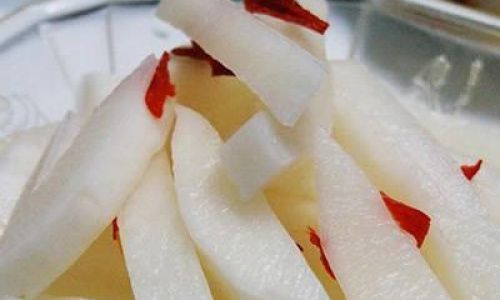
Peeling: Use a sharp vegetable peeler to remove the skin from the radishes. The key to crispy pickled radish peels is to peel them in thin, even layers. A dull peeler can tear the skin, making it less appealing for pickling.

-
Trimming: After peeling, trim away any rough edges or imperfections using a sharp knife. This ensures a neat, uniform appearance in your final pickled product.
The Pickling Process
Pickling radish peels involves creating a brine—a salted, acidic liquid—that preserves the peels while infusing them with flavor. Here’s a detailed breakdown of the process:
Ingredients
- Radish peels from approximately 1 pound of radishes
- 1 cup distilled white vinegar (for a classic tang) or apple cider vinegar (for a milder, sweeter flavor)
- 1 cup water
- 2 tablespoons granulated sugar (optional, for balance)
- 2 tablespoons kosher salt (or to taste)
- 1 teaspoon whole black peppercorns
- 1 teaspoon mustard seeds
- 1 teaspoon coriander seeds
- 1 small red onion, thinly sliced (optional, for added flavor and texture)
- 1-2 fresh bay leaves
- 1-2 garlic cloves, thinly sliced (optional)
- 1-2 dried chili peppers (optional, for a spicy kick)
Equipment
- A large, non-reactive bowl (glass or stainless steel)
- A clean, sterile jar with a tight-fitting lid (preferably glass)
- Cheesecloth or a fine-mesh strainer
- A large pot for heating the brine
- Tongs or a slotted spoon for handling hot items
Instructions
-
Prepare the Brine:
- In a large pot, combine the vinegar, water, sugar (if using), and salt. Stir until the sugar and salt are fully dissolved.
- Bring the mixture to a gentle boil over medium heat.
- Add the peppercorns, mustard seeds, and coriander seeds. Allow the mixture to simmer for about 5 minutes to release the flavors of the spices.
- Remove the pot from heat and let the brine cool slightly.
-
Prepare the Radish Peels:
- While the brine is cooling, place the peeled radish peels in the large, non-reactive bowl.
- If using, add the thinly sliced red onion, garlic slices, and dried chili peppers to the bowl with the radish peels. Toss gently to combine.
-
Pack the Jar:
- Once the brine has cooled to room temperature, strain out the spices using the cheesecloth or fine-mesh strainer, reserving the liquid.
- Using tongs or a slotted spoon, carefully transfer the radish peels and any added ingredients (onion, garlic, chili peppers) into the clean, sterile jar. Pack them in tightly but not so compactly that they become crushed.
-
Pour in the Brine:

Pour the cooled brine over the radish peels in the jar, ensuring they are fully submerged. If necessary, add more vinegar or water (in the same proportions as the original brine) to cover all the peels.
-
Seal and Store:
- Secure the lid tightly on the jar.
- Place the jar in the refrigerator. Allow the pickled radish peels to sit for at least 3 days before tasting. The longer they sit, the more flavor they will develop. For best results, let them pickle for at least a week.
Tips for Perfect Pickled Radish Peels
-
Sterilization: Ensure your jar and any utensils used in the pickling process are clean and sterile to prevent contamination.
-
Temperature Control: Pickling works best at consistent, cool temperatures. The refrigerator is ideal for this purpose, maintaining a steady temperature that slows the growth of bacteria and allows the flavors to meld slowly.
-
Taste Testing: Start tasting your pickled radish peels after 3 days. They will continue to develop flavor over time, so you can decide when they reach your preferred level of tanginess and crispiness.
-
Storage: Once opened, store the jar of pickled radish peels in the refrigerator. They should keep for several weeks, but the best flavor and texture are usually enjoyed within a month.

-
Experimentation: Feel free to experiment with different spices and flavors. Adding a splash of rice vinegar for extra acidity, a handful of fresh herbs like dill or cilantro, or even a pinch of red pepper flakes can create unique and delightful variations.
Serving Suggestions
Pickled radish peels are versatile and can be enjoyed in various ways:
- As a Snack: Serve them on their own as a crunchy, tangy snack.
- Garnish: Use them to garnish salads, sandwiches, or tacos.
- Side Dish: Pair them with cheese, charcuterie, or a simple green salad for a light, refreshing meal.
- Appetizer: Serve them with a dollop of sour cream or crème fraîche as an appetizer.
Conclusion
Pickling radish peels is a simple yet rewarding way to transform a often-discarded part of the radish into a delicious, crunchy treat. By following the steps outlined in this guide, you can create a jar of pickled radish peels that are not only crispy and flavorful but also packed with the fresh, tangy notes that make pickled foods so irresistible. Whether you enjoy them as a snack, a garnish, or a side dish, pickled radish peels are sure to become a staple in your kitchen. Happy pickling!


0 comments