Introduction
Pickling ginger, a time-honored tradition in many culinary cultures, transforms fresh ginger root into a tangy, preserved delight that can enhance the flavor of dishes or be enjoyed as a standalone snack. This versatile ingredient adds a zesty kick to salads, marinades, stir-fries, and even desserts, making it a staple in both traditional and modern kitchens. While the process may seem intimidating to beginners, with the right techniques and understanding, anyone can master the art of pickling ginger. This comprehensive guide will walk you through every step of the process, from selecting the perfect ginger to storing your pickled masterpiece.
Chapter 1: Understanding Ginger
Before diving into the pickling process, it’s crucial to understand the basics of ginger. Ginger (Zingiber officinale) is a tropical perennial plant whose rhizome (underground stem) is used in cooking. It boasts a unique, pungent flavor and aroma that can range from mild to intense depending on the variety and age of the ginger.
1 Types of Ginger
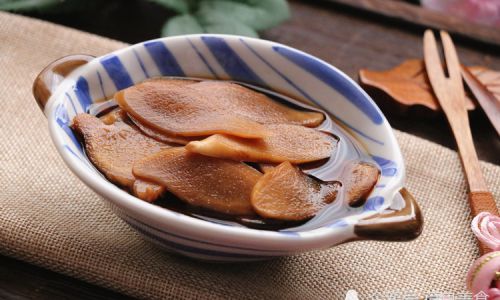
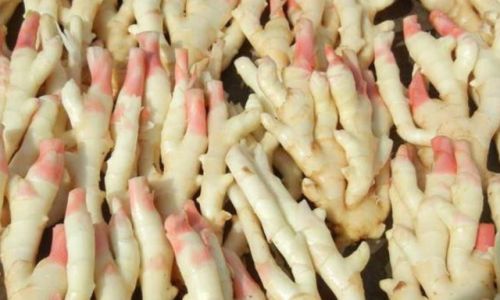
- Young Ginger: Also known as spring ginger or baby ginger, this variety has a tender texture and a mild, slightly sweet flavor. It’s ideal for pickling due to its delicate taste.
- Mature Ginger: More commonly found in grocery stores, mature ginger has a stronger, more fiery taste and a fibrous texture. It’s perfect for dishes requiring a bold ginger flavor but can be too intense for pickling unless properly balanced with other ingredients.
- Wild Ginger: Though less common, wild ginger has a subtle, floral taste and is occasionally used in pickling for its unique flavor profile.
2 Selecting the Right Ginger
When choosing ginger for pickling, look for firm, smooth roots with tight skin. Avoid ginger that is wrinkled, soft, or has mold spots. Freshness is key; the younger and fresher the ginger, the better the pickled result.
Chapter 2: Preparation Before Pickling
Proper preparation is essential for successful pickling. This involves cleaning, peeling, slicing, and sometimes blanching the ginger.
1 Cleaning and Peeling
- Cleaning: Rinse the ginger thoroughly under running water to remove any dirt or debris. Use a vegetable brush if necessary to scrub off stubborn soil.
- Peeling: Use a vegetable peeler or a sharp knife to remove the thin outer skin. Be careful not to remove too much flesh, as some of the flavor lies just beneath the skin.
2 Slicing Techniques
The thickness of the slices will affect the pickling time and the final texture.
- Thin Slices: Ideal for quick pickling, thin slices absorb the brine quickly and develop a tender texture.
- Medium Slices: Suitable for moderate pickling periods, these slices retain some crunch while still absorbing flavors well.
- Thick Slices: Best for long-term pickling, thick slices take longer to soften but offer a satisfying chewiness.
3 Blanching (Optional)
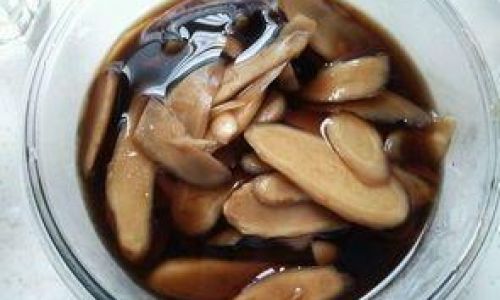
Blanching ginger before pickling can help to kill bacteria, soften the fiber, and enhance the absorption of the pickling liquid. To blanch, submerge the sliced ginger in boiling water for about 1-2 minutes, then plunge it into ice water to stop the cooking process.
Chapter 3: Crafting the Pickling Brine
The pickling brine is the lifeblood of your preserved ginger. It should be well-balanced, with the right proportions of acidity, sweetness, and saltiness.
1 Basic Ingredients
- Vinegar: The primary acidifying agent. Common choices include rice vinegar, apple cider vinegar, and distilled white vinegar. Each type offers a different flavor profile.
- Sugar or Honey: Adds sweetness to balance the acidity. Honey can provide a more complex, floral sweetness.
- Salt: Helps to preserve the ginger and enhance flavor. Use kosher or sea salt for the best results.
- Water: Dilutes the vinegar and sugar, creating a balanced brine.
2 Advanced Flavorings
To elevate your pickled ginger, consider adding:
- Spices: Such as star anise, cinnamon sticks, and cloves for warmth.
- Aromatics: Like garlic, shallots, or fresh ginger slices for added depth.
- Herbs: Such as mint, cilantro, or basil for a fresh twist.
- Fruit: Like pineapple or apple slices for sweetness and complexity.
3 Making the Brine
Combine the vinegar, sugar, salt, and water in a saucepan. Heat until the sugar and salt are fully dissolved. Adjust the flavors to your liking; remember, the brine should be slightly stronger than you prefer, as the ginger will absorb some of the liquid.
Chapter 4: The Pickling Process
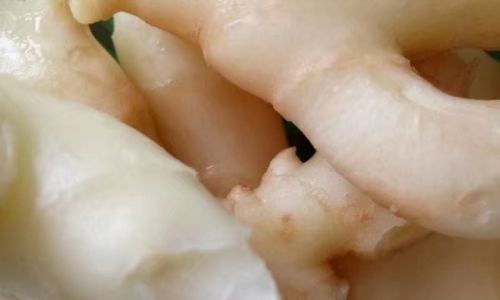
Now that you have your ingredients and brine ready, it’s time to start pickling.
1 Jar Preparation
- Sterilization: Ensure your jars and lids are sterile by boiling them in water for 5 minutes or running them through the dishwasher on the sanitize setting.
- Packing: Pack the prepared ginger slices tightly into the jars, ensuring there are no air pockets. This helps to prevent mold and ensures even pickling.
2 Pouring the Brine
Carefully pour the hot brine over the ginger, ensuring all pieces are fully submerged. Use a chopstick or knife to remove any bubbles and press down the ginger if necessary.
3 Sealing and Storage
- Immediate Sealing: Secure the lids tightly and allow the jars to cool to room temperature. This creates a vacuum seal, helping to preserve the ginger.
- Refrigeration: Store the pickled ginger in the refrigerator. Depending on the thickness of the slices and the strength of the brine, it can be ready to eat within a few days to a week.
Chapter 5: Troubleshooting and Tips
Even the most seasoned picklers can encounter issues. Here are some troubleshooting tips and general advice to ensure success.
1 Common Issues
- Mold: If mold appears on the surface of the brine, carefully remove it with a clean spoon. If the ginger itself is moldy, discard the entire batch.
- Soft Texture: Over-pickling can lead to mushy ginger. Adjust pickling time based on slice thickness and desired texture.
- Too Strong/Weak Flavor: Taste the brine before pouring it over the ginger. Adjust sweetness, acidity, and saltiness as needed.
2 General Tips
- Use Fresh Ingredients: Always start with fresh ginger and ingredients for the best flavor.
- Experiment with Flavors: Don’t be afraid to experiment with different spices and herbs to find your perfect pickled ginger recipe.
- Label and Date: Label your jars with the date and any special ingredients used. This helps you track the pickling progress and ensures you use the oldest batches first.
Chapter 6: Enjoying Your Pickled Ginger
Once your pickled ginger is ready, there are endless ways to enjoy it.
1 Culinary Uses
- Salads: Add a tangy crunch to green or fruit salads.
- Sushi: Serve it alongside sushi or sashimi for a traditional accompaniment.
- Marinades: Use it to flavor meats, tofu, or vegetables before cooking.
- Desserts: Incorporate it into gingerbread, cakes, or ice cream for a unique twist.
2 Preservation and Gift-Giving
- Long-Term Storage: Properly sealed and refrigerated, pickled ginger can last for several months.
- Gift-Giving: Jarred pickled ginger makes a thoughtful, homemade gift for food lovers. Add a personalized touch with a handwritten label or decorative ribbon.
Conclusion
Pickling ginger is a rewarding culinary endeavor that combines science, art, and tradition. By following this comprehensive guide, you’ll be able to create delicious, preserved ginger that enhances your dishes and delights your taste buds. Whether you’re a seasoned chef or a pickling novice, the joy of crafting your own pickled ginger lies in the process, the experimentation, and the satisfaction of sharing your creations with friends and family. Happy pickling!

0 comments