Introduction
Pickling chili peppers is a time-honored tradition that preserves the fiery heat and vibrant flavor of fresh peppers for later enjoyment. Whether you’re looking to add a tangy kick to your meals throughout the year or simply want to extend the shelf life of your garden’s bounty, learning how to salt-pickle chili peppers is a valuable skill. This comprehensive guide will walk you through the entire process, from selecting the right peppers to storing your pickled creations, ensuring you end up with delicious, crunchy, and perfectly preserved chili peppers.
Section 1: Choosing the Right Chili Peppers
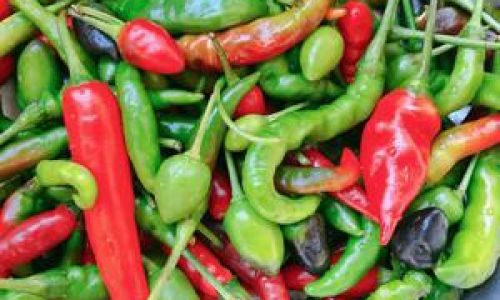
The first step in pickling chili peppers is selecting the right variety. Different types of chili peppers offer unique flavors and levels of heat, so choose based on your personal preference and the dishes you plan to use them in. Here are some popular options:
- Jalapeños: Mild to medium heat with a slightly fruity flavor.
- Serranos: Thinner and longer than jalapeños, with a sharper, more intense heat.
- Habaneros: Extremely hot with a fruity, citrusy taste.
- Bell Peppers: For those who prefer no heat but still want the crunch and sweetness of pickled peppers.
When selecting peppers, look for firm, brightly colored, and unblemished fruits. Avoid peppers with soft spots, wrinkles, or mold. Freshness is key to ensuring your pickled peppers retain their best qualities.
Section 2: Preparation and Cleaning
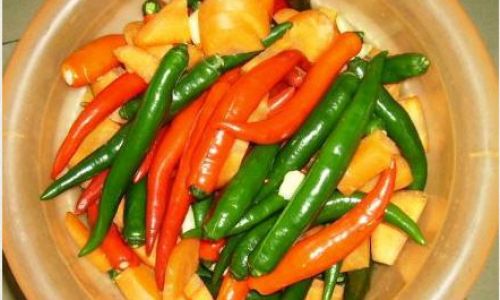
Once you’ve chosen your peppers, it’s time to prepare them for pickling. Begin by washing the peppers thoroughly under running water to remove any dirt, pesticides, or debris. Use a vegetable brush if necessary to scrub away stubborn dirt.
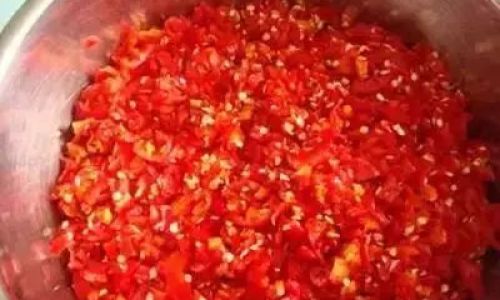
Next, remove the stems and seeds from the peppers. While seeds contain much of the heat, they can also make your pickled peppers bitter if left in. If you prefer a milder pickle, remove all the seeds and membranes. For those who like it hot, you can leave some or all of the seeds intact.
After cleaning and seeding, slice the peppers into rings, strips, or leave them whole depending on your preference. Smaller pieces will pickle faster and be more tender, while whole peppers will retain their crunch.
Section 3: Brining the Peppers
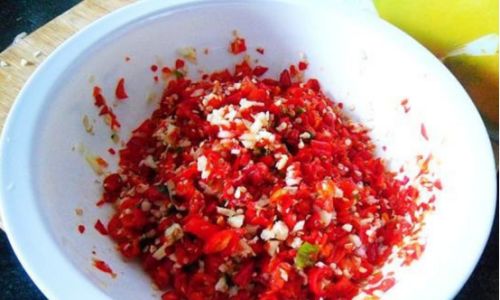
Brining is a crucial step in the pickling process that helps to preserve the peppers and add flavor. For salt-pickling, you’ll need a brine solution made from water, salt, and sometimes vinegar or other acidic ingredients to create an environment hostile to harmful bacteria.
Here’s a basic brine recipe:
-
Ingredients:
- 1 cup kosher salt
- 4 cups water
- 1 cup distilled white vinegar (optional, for added tang and preservation)
- 2-3 cloves of garlic (optional, for flavor)
- A few black peppercorns (optional)
- 1-2 bay leaves (optional)
-
Instructions:
- In a large, non-reactive pot (such as stainless steel or glass), combine the salt and water. Stir until the salt is completely dissolved.
- If using vinegar, add it to the brine and stir.
- Bring the brine to a boil, then reduce the heat and let it simmer for 5 minutes. This helps to infuse the brine with any additional flavors from the garlic, peppercorns, and bay leaves.
- Remove the pot from heat and let the brine cool to room temperature.
Section 4: Packing and Pickling
Now it’s time to pack your peppers into jars and cover them with the brine. Choose clean, sterile glass jars with tight-fitting lids. Here’s how to do it:
-
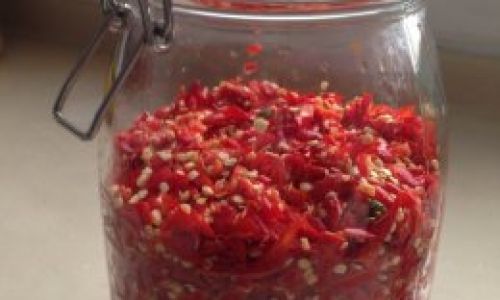
Pack the Peppers: Tightly pack the prepared peppers into the jars, ensuring there are no large air pockets. You can use a chopstick or the handle of a spoon to press down the peppers and release any trapped air.
-
Pour in the Brine: Carefully pour the cooled brine over the peppers, ensuring they are completely submerged. Leave about half an inch of headspace at the top of each jar to prevent the brine from overflowing when the jars are sealed.
-
Seal the Jars: Wipe the rims of the jars clean with a damp cloth to remove any brine residue, then secure the lids tightly.
-
Processing the Jars (for long-term storage): To ensure your pickled peppers are safely preserved, you’ll need to process the jars in a water bath canner or a large pot of boiling water.
- Place the jars in the canner or pot, ensuring they are fully submerged in water.
- Bring the water to a rolling boil and process the jars for 10-15 minutes, depending on their size.
- After processing, carefully remove the jars from the water using a jar lifter and let them cool completely on a wire rack. You should hear a popping sound as the lids seal.
Section 5: Storing and Using Your Pickled Peppers
Once your jars have cooled and sealed, you can store them in a cool, dark place, such as a pantry or cellar. Properly pickled peppers can last for several months to a year, depending on storage conditions.
To use your pickled peppers, simply open a jar and enjoy them as a condiment, added to salads, sandwiches, tacos, or any dish that could benefit from a tangy, spicy kick. You can also chop them up and use them in cooking, such as adding them to stir-fries or sauces.
Section 6: Troubleshooting and Tips
- Cloudy Brine: Cloudiness is usually harmless and can be caused by natural bacteria or yeast. If the brine tastes off or has a bad smell, discard the peppers and start again.
- Soft Peppers: If your pickled peppers become soft, it may indicate that they weren’t fully submerged in the brine or that the jars weren’t processed properly.
- Adjusting Heat: If you find your pickled peppers too hot, you can rinse them under cold water before using to reduce some of the heat. Conversely, if you want more heat, leave more seeds in during preparation.
- Experimenting with Flavors: Feel free to experiment with different spices, herbs, and vinegars to create unique flavors. For example, adding a splash of apple cider vinegar can add a sweet-tart note, while mustard seeds or dill can provide additional layers of flavor.
Conclusion
Pickling chili peppers is a rewarding culinary endeavor that allows you to enjoy the fiery flavors of fresh peppers year-round. By following the steps outlined in this guide, you’ll be able to create delicious, crunchy, and perfectly preserved pickled peppers that will enhance your meals and impress your friends and family. Happy pickling!


0 comments