Cooking beans can be a delightful culinary endeavor, offering a nutritious and versatile staple for meals. However, achieving that perfect texture—soft, creamy, and tender without turning to mush—can sometimes pose a challenge. Whether you’re preparing black beans for a hearty chili, kidney beans for a classic salad, or lentils for a quick soup, knowing how to cook beans so they become easily tender is crucial. This comprehensive guide will walk you through various techniques and tips to ensure your beans cook to perfection every time.
Understanding Bean Types and Their Cooking Characteristics
Before diving into the cooking process, it’s essential to understand the different types of beans and their unique cooking characteristics. Beans can broadly be categorized into two groups: dried beans and canned beans. Dried beans require soaking and longer cooking times, while canned beans are already cooked and ready to use, needing only to be heated through.
Common Types of Dried Beans:
- Black Beans: Rich in fiber and antioxidants, often used in Latin American dishes like black bean soup and chili.
- Kidney Beans: Known for their kidney-shaped appearance and earthy flavor, perfect for salads, stews, and chili.
- Chickpeas (Garbanzo Beans): Versatile and nutritious, used in hummus, salads, and curries.
- Lentils: Small, lens-shaped legumes that cook quickly and are high in protein and iron.
- Pinto Beans: Creamy and mild-flavored, ideal for refried beans and Mexican dishes.
- Navy Beans: Small, white beans that hold their shape well and are great for soups and baked beans.
Canned Beans:
Canned beans offer convenience but can sometimes lack the fresh flavor and texture of homemade cooked beans. When using canned beans, rinse them thoroughly under cold water to remove excess sodium and any canned taste.
The Importance of Soaking Dried Beans
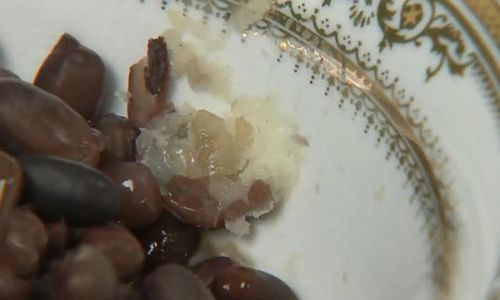
Soaking dried beans before cooking is a crucial step that can significantly reduce cooking time and improve digestibility. Soaking helps to soften the bean’s tough outer skin, allowing for more uniform cooking and a creamier texture. There are two primary soaking methods: overnight soaking and the quick soak method.
Overnight Soaking:
- Rinse the Beans: Start by rinsing the beans under cold running water to remove any dirt or debris.
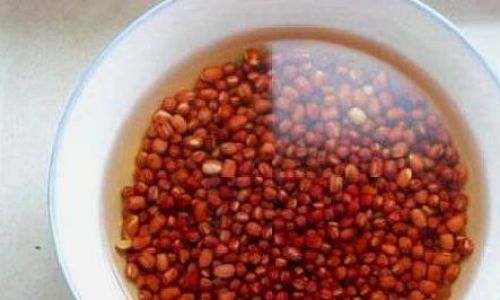
- Soak in Water: Place the beans in a large bowl or pot and cover them with at least 2-3 inches of water. Let them soak at room temperature for 8-12 hours.
- Drain and Rinse: Drain the beans in a colander and rinse them under cold water before cooking.
Quick Soak Method:
- Rinse the Beans: As with overnight soaking, begin by rinsing the beans.
- Boil Water: Place the beans in a pot and cover them with water. Bring the water to a boil.
- Simmer and Soak: Once boiling, reduce the heat to low and let the beans simmer for 2-3 minutes. Remove the pot from heat, cover, and let the beans soak for 1-2 hours.
- Drain and Rinse: Drain and rinse the beans before cooking.
Cooking Beans to Tender Perfection
Now that your beans are soaked, it’s time to cook them. There are several methods you can use, each offering its own benefits and considerations.
Stovetop Cooking:
Stovetop cooking is a straightforward method that allows you to keep a close eye on the beans as they cook.
- Prepare the Pot: Use a heavy-bottomed pot to ensure even heat distribution. Add the soaked and rinsed beans to the pot.
- Cover with Water: Pour in enough water to cover the beans by at least 2 inches. For added flavor, you can use vegetable or chicken broth.
- Seasonings: Add a pinch of salt (only after the beans have started cooking, as salt can toughen the beans’ skins if added too early), along with any aromatics like onions, garlic, bay leaves, or herbs.
- Bring to a Boil: Place the pot over medium-high heat and bring the contents to a boil.
- Reduce Heat and Simmer: Once boiling, reduce the heat to low, cover the pot, and let the beans simmer gently. Cooking time can vary depending on the bean type but generally ranges from 1 to 3 hours. Check the beans periodically, stirring occasionally to prevent sticking.
- Test for Doneness: Taste a bean to check for tenderness. They should be soft and creamy but not falling apart. If they need more time, continue simmering and checking every 15-20 minutes.
Slow Cooker Method:
The slow cooker is an excellent choice for cooking beans, as it maintains a consistent low temperature, promoting even cooking and tenderizing the beans without the need for constant attention.
- Prepare the Slow Cooker: Add the soaked and rinsed beans to the slow cooker insert.
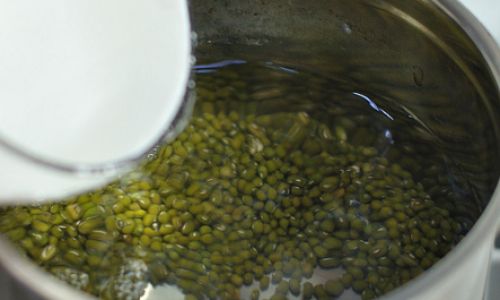
- Cover with Liquid: Pour in enough water or broth to cover the beans by 1-2 inches.
- Add Seasonings: Include salt (after starting the cooking process), onions, garlic, bay leaves, and any other desired seasonings.
- Cook on Low: Cover the slow cooker and set it to the low setting. Cooking times vary but generally range from 4 to 8 hours, depending on the bean type.
- Check for Doneness: Use a fork to test a bean for tenderness. If they are not yet soft, continue cooking and check every hour until done.
Pressure Cooker Method:
The pressure cooker is the fastest method for cooking beans, drastically reducing cooking time while retaining flavor and texture.
- Prepare the Pressure Cooker: Add the soaked and rinsed beans to the pressure cooker pot.
- Cover with Liquid: Pour in enough water or broth to cover the beans by about 1 inch.
- Add Seasonings: Include salt (after starting the cooking process to avoid toughening), onions, garlic, and herbs.
- Lock and Cook: Secure the lid, set the pressure cooker to high pressure, and cook according to the manufacturer’s instructions. Cooking times vary but are typically around 20-30 minutes for most beans.
- Natural Release: Allow the pressure to release naturally for best results. This can take 15-30 minutes depending on the bean type and the pressure cooker model.
- Check for Doneness: Once the pressure has released, open the lid and test a bean for tenderness. If needed, return the beans to pressure cooking for a few more minutes.
Tips for Perfectly Cooked Beans
- Use Fresh Beans: Always check the expiration date on dried beans. Older beans may take longer to cook and may not achieve the same tender texture.
- Avoid Over-Salting: As mentioned, adding salt too early can toughen the bean’s skin. Wait until the beans have started cooking to add salt.
- Keep It Simple: Start with basic seasoning and add more flavors later if needed. This allows you to better taste the beans and adjust seasoning accordingly.
- Stir Occasionally: Stirring the beans periodically during stovetop cooking helps prevent sticking and ensures even cooking.
- Reserve Cooking Liquid: Don’t discard the cooking liquid once the beans are done. It’s full of flavor and can be used to thicken soups, stews, or sauces.
- Storage: Store cooked beans in an airtight container in the refrigerator for up to a week. For longer storage, freeze them in portions.
Conclusion
Cooking beans to tender perfection doesn’t have to be a daunting task. By understanding your bean types, soaking them properly, and choosing the right cooking method, you can enjoy soft, creamy beans that are the perfect foundation for countless dishes. Whether you prefer the slow, gentle heat of a stovetop or the convenience of a pressure cooker, with these tips and techniques, you’ll be able to cook beans with confidence, knowing they’ll turn out perfectly every time. Happy cooking!

0 comments