Table of content
Cooking pig bones, often overlooked as mere byproducts of meat cuts, can actually be a culinary delight that unlocks a world of flavors and nutrients. Whether you’re aiming to craft a rich, flavorful broth for soups, make savory bone marrow dishes, or simply enjoy the tender meat adhering to the bones, knowing how to cook pig bones properly is a skill worth mastering. This comprehensive guide will walk you through the process, from selecting the right bones to storing the leftover broth, ensuring you extract every ounce of taste and nutrition from these often-underrated ingredients.
Understanding Pig Bones: Types and Uses
Before diving into the cooking process, it’s crucial to understand the different types of pig bones available and their specific uses.
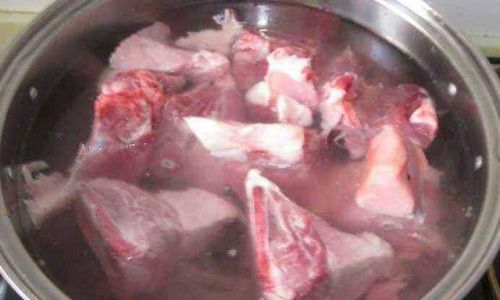
- Knuckle Bones (Hocks): These are the lower leg bones, rich in collagen and gelatin, perfect for making broth.
- Femur Bones (Shank Bones): Larger and thicker, these bones contain marrow which can be roasted or used in stews.
- Rib Bones: Often used for roasting or grilling, they provide a good balance of meat and bone for flavorful dishes.
- Spine Bones (Backbones): Excellent for broth due to their high collagen content but contain less meat.
Selecting the Right Bones
When choosing pig bones for cooking, look for bones that are:
- Fresh and Odorless: Fresh bones should have a mild, earthy smell. Avoid those with a strong, unpleasant odor.
- Meaty and Clean: Bones with some meat attached offer more flavor. Ensure they are free of hair, dirt, or other impurities.
- From a Trusted Source: Purchase bones from reputable butchers or grocery stores to ensure quality and safety.
Preparation: Cleaning and Soaking
Proper preparation is key to achieving a clean, flavorful broth or dish.
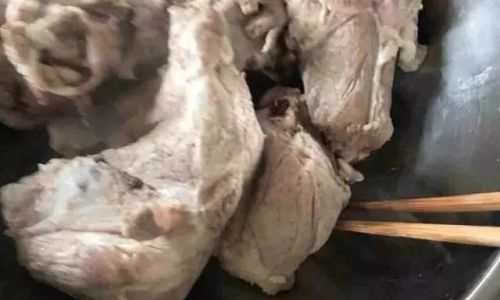
- Rinse Thoroughly: Under cold running water, rinse the bones to remove any surface dirt or debris.
- Soak (Optional): Soaking bones in cold water for 1-2 hours can help draw out blood and impurities. Change the water if it becomes bloody.
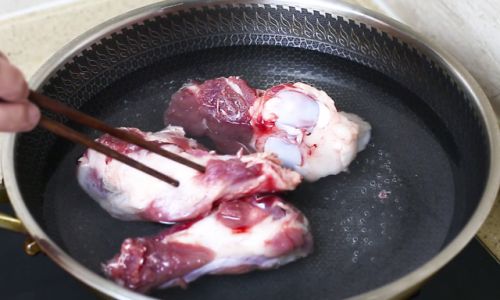
- Blanching: Bring a pot of water to a boil and add the bones. Boil for about 5-10 minutes, then discard the water. This step further removes impurities and tightens the meat, preventing it from falling off during long cooking.
Cooking Techniques: Boiling, Roasting, and Slow Cooking
Different cooking methods yield distinct results, from the rich, clear broth of boiled bones to the crispy, savory delight of roasted marrow.
Boiling for Broth
- Ingredients: Place the prepared bones in a large pot. Add water to cover the bones completely, plus an extra inch or two. Include aromatic vegetables like carrots, celery, and onions for added flavor. A few cloves of garlic, a bay leaf, and some black peppercorns can also enhance the broth.
- Simmering: Bring the pot to a gentle boil, then reduce the heat to low. Allow the broth to simmer slowly, uncovered, for at least 4-6 hours, or even overnight for maximum flavor extraction. Skim off any foam that rises to the surface during the first hour.
- Straining and Cooling: Once done, strain the broth through a fine-mesh sieve, discarding the solids. Let the broth cool to room temperature before refrigerating. The fat will solidify on top and can be easily removed.
Roasting Marrow Bones
- Preheat Oven: Preheat your oven to 400°F (200°C).
- Seasoning: Place cleaned femur bones on a baking sheet. Season generously with salt, pepper, and any herbs or spices you prefer, such as thyme, rosemary, or garlic powder.
- Roasting: Roast for about 25-30 minutes, or until the marrow is soft and slightly bubbly. For a crispier exterior, broil for an additional 2-3 minutes.
- Serving: Serve hot, with crusty bread on the side for scooping out the marrow.
Slow Cooking
- Setting Up: Place prepared bones in a slow cooker. Add water or broth to cover halfway, along with aromatic vegetables and seasonings.
- Cooking Time: Cook on low for 8-10 hours, or until the bones are tender and the broth is rich and flavorful.
- Finishing Touches: Strain and cool the broth as described above. The slow cooking process allows for maximum gelatin extraction, resulting in a silky, nourishing broth.
Storage and Usage
Proper storage ensures you can enjoy your homemade broth or cooked bones for days or even weeks after preparation.
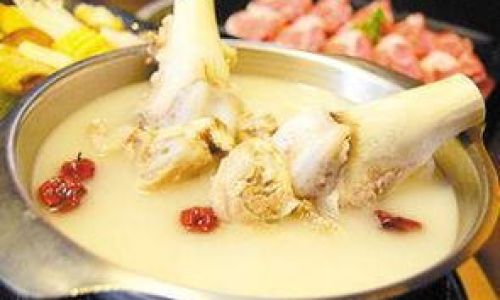
- Broth Storage: Pour cooled broth into airtight containers and store in the refrigerator for up to a week. For longer storage, freeze in portions.
- Cooked Bones: Leftover roasted marrow bones can be stored in an airtight container in the refrigerator for a few days. Reheat gently before serving.
Creative Uses for Pig Bone Broth
Your homemade pig bone broth is a versatile ingredient that can elevate numerous dishes:
- Soups and Stews: Use it as the base for soups, stews, and risottos.
- Sauces and Gravies: Incorporate it into gravies, sauces, and even braising liquids for added richness.
- Rice and Pasta: Cook rice or pasta in broth instead of water for an extra layer of flavor.
- Smoothies and Drinks: Add a splash to smoothies, hot chocolate, or even cocktails for a nutritious twist.
Conclusion
Cooking pig bones might seem like a simple task, but it’s a practice that can yield profound culinary rewards. By understanding the types of bones, preparing them meticulously, and choosing the right cooking method, you can unlock a treasure trove of flavors and nutrients. Whether you’re aiming for a nourishing broth, a decadent marrow dish, or simply want to make the most of every part of the animal, mastering the art of cooking pig bones will elevate your culinary skills and expand your culinary horizons. Happy cooking!


0 comments