Table of content
Creating candied walnut kernels with frosting is a delightful culinary endeavor that combines the crunchy texture and nutty flavor of walnuts with the sweet, sugary coating that makes them an irresistible treat. Whether you’re looking to impress guests at a holiday party, satisfy a sweet tooth, or simply enjoy a homemade snack, learning how to make candied walnut kernels with frosting can be a rewarding experience. This guide will walk you through the entire process, from selecting the right walnuts to achieving the perfect frosted finish.
Understanding the Ingredients
Before diving into the recipe, it’s essential to understand the role each ingredient plays in creating candied walnut kernels with frosting.
-
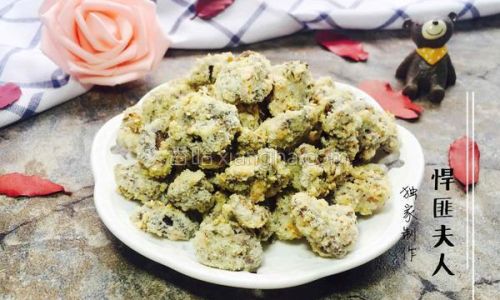
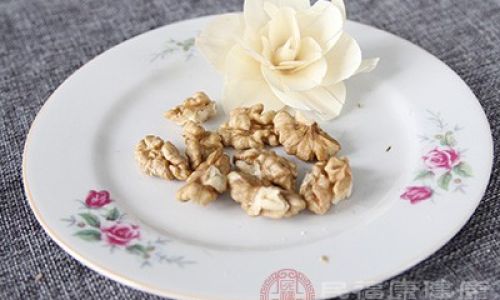
Walnuts: Choose fresh, unsalted walnuts for the best flavor and texture. Ideally, use kernels that have been recently shelled to ensure they are free from rancidity.
-
Sugar: Granulated sugar is the primary ingredient for creating the caramelized coating that will eventually form the frosting. The type of sugar you use can affect the final texture, so it’s best to stick with standard granulated sugar for this recipe.
-
Water: Water is crucial for dissolving the sugar and creating a syrup that can be cooked to the right consistency. The ratio of sugar to water is vital for achieving the perfect caramel.
-
Corn Syrup (Optional): Adding a small amount of corn syrup can help prevent crystallization, ensuring a smoother caramel. However, it’s not strictly necessary if you’re careful about your cooking process.
-
Vanilla Extract (Optional): A splash of vanilla extract can add an extra layer of flavor to your candied walnuts.
-
Baking Soda: Baking soda is the secret ingredient that creates the frosting effect. When added to the hot caramel, it reacts with the acids in the syrup, causing it to foam and lighten, creating a frosted appearance.
Equipment You’ll Need
- Measuring Cups and Spoons: For accurately measuring ingredients.
- Saucepan: A heavy-bottomed saucepan is best for cooking the caramel, as it distributes heat evenly and prevents hot spots that can cause burning.
- Candy Thermometer: This is optional but highly recommended for achieving the precise temperature needed for the caramel to set correctly.
- Silicone Spatula: For stirring the caramel and coating the walnuts.
- Baking Sheet: Line it with parchment paper or a silicone baking mat to prevent sticking.
- Cooling Rack: For draining excess caramel from the walnuts.
- Mixing Bowls: For tossing the walnuts in the caramel and separating them after coating.
Step-by-Step Guide
Step 1: Prepare the Walnuts
- Preheat the Oven: Preheat your oven to 325°F (165°C). This step is optional but can help toast the walnuts slightly, enhancing their flavor.
- Toast the Walnuts (Optional): Spread the walnuts in a single layer on a baking sheet and toast them in the preheated oven for about 5-7 minutes. Keep a close eye on them to prevent burning. Remove from the oven and let them cool slightly.
Step 2: Prepare the Caramel
- Combine Sugar, Water, and Corn Syrup: In a heavy-bottomed saucepan, combine the granulated sugar, water, and corn syrup (if using). Stir gently with a silicone spatula until the sugar is fully moistened.
- Cook the Syrup: Place the saucepan over medium-high heat. Do not stir the syrup once it begins to boil. Instead, swirl the pan gently if needed to ensure even heating.
- Use a Candy Thermometer: Clip a candy thermometer to the side of the saucepan and cook the syrup until it reaches the soft-ball stage, which is usually around 235-240°F (113-116°C).
Step 3: Add Vanilla and Baking Soda
- Add Vanilla (Optional): Once the syrup reaches the soft-ball stage, remove the saucepan from the heat and quickly stir in a few drops of vanilla extract, if using.
- Add Baking Soda: Carefully sprinkle the baking soda over the surface of the syrup. It will immediately begin to foam and lighten in color. Stir gently with the silicone spatula to incorporate the baking soda evenly.
Step 4: Coat the Walnuts
- Add the Walnuts: Quickly but carefully fold the toasted walnuts into the foamy caramel mixture. Use the spatula to coat the walnuts evenly. The caramel will be very hot, so be cautious to avoid burns.
- Spread on Baking Sheet: Transfer the coated walnuts to the prepared baking sheet, spreading them out in a single layer. Use the spatula to separate any clumps and ensure each walnut is individually coated.
Step 5: Cool and Separate
- Cool the Walnuts: Allow the walnuts to cool completely at room temperature. As they cool, the caramel will harden and form the frosting.
- Separate the Walnuts: Once fully cooled, the walnuts may stick together slightly. Gently break them apart by hand or use a fork to separate them.
Tips for Perfect Candied Walnut Kernels with Frosting
- Use Fresh Walnuts: Fresh walnuts have the best flavor and texture. Avoid using walnuts that have been stored for too long, as they may have lost their crunch.
- Monitor the Temperature: Achieving the correct caramel temperature is crucial. Using a candy thermometer can help ensure you reach the soft-ball stage without overcooking the syrup.
- Work Quickly: Once you add the baking soda, you need to work quickly to coat the walnuts before the caramel begins to set.
- Store Properly: Store your candied walnuts in an airtight container at room temperature. They can last for several weeks but are best enjoyed within a couple of weeks for maximum freshness.
Troubleshooting Common Issues
- Caramel Crystallizes: If your caramel crystallizes, it’s likely due to moisture or stirring the syrup while it’s boiling. Ensure all equipment is dry and avoid stirring once the syrup begins to boil.
- Walnuts Stick Together: If the walnuts stick together after cooling, gently break them apart with your hands or a fork. This is more of a cosmetic issue and doesn’t affect the taste.
- Caramel Is Too Thick or Too Thin: The consistency of the caramel can be affected by humidity, the type of sugar used, and the cooking temperature. Adjust the cooking time slightly if necessary to achieve the desired consistency.
Serving Suggestions
Candied walnut kernels with frosting are versatile and can be enjoyed in various ways. Here are a few serving suggestions:
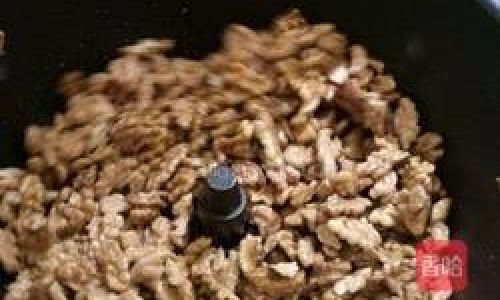
- Snack Time: Serve them as a standalone snack for a sweet and crunchy treat.
- Salad Toppings: Add them to salads for a surprising sweet and savory contrast.
- Dessert Garnishes: Use them to garnish cakes, cupcakes, or ice cream for an extra touch of elegance.
- Gift Ideas: Package them in small jars or bags and give them as gifts to friends and family.
Conclusion
Making candied walnut kernels with frosting is a fun and rewarding culinary project that can result in a delicious, homemade treat. By following the steps outlined in this guide and paying attention to detail, you can achieve perfectly frosted, candied walnuts that are sure to impress. Whether you’re a seasoned baker or a novice in the kitchen, this recipe offers a delightful way to enjoy the rich, nutty flavor of walnuts in a sweet and crunchy form. So, gather your ingredients, preheat your oven (if using), and get ready to create a delightful culinary masterpiece!
0 comments