Introduction
Corn on the cob, a beloved summer staple, is celebrated for its sweet, buttery flavor and satisfying crunch. Yet, achieving that ideal balance between tender kernels and a slight firmness requires precision. The question “How long should I boil corn?” seems simple, but the answer hinges on variables like freshness, size, and personal preference. This article delves into the science and art of boiling corn, offering a comprehensive guide to ensure your ears of corn are cooked to perfection every time. From factors influencing cooking time to troubleshooting common pitfalls, we’ll equip you with the knowledge to elevate your corn-cooking game.
Understanding Corn’s Composition
Before diving into timing, it’s essential to grasp why corn cooks the way it does. Corn kernels are composed of starch granules encased in cellulose walls. Boiling water breaks down these walls, softening the starch and releasing moisture, which creates that signature juiciness. Overcooking, however, ruptures the cells excessively, leading to mushy kernels. Conversely, undercooking leaves the starch intact, resulting in a starchy, crunchy texture. The goal is to heat the kernels just enough to tenderize the starch without compromising their structure.
Factors Influencing Boiling Time
- Freshness: Freshly harvested corn contains higher moisture levels and tender kernels, requiring less cooking. Store-bought corn, especially if it’s been refrigerated, may need slightly longer.
- Corn Size: Larger ears with thicker kernels take longer to cook than smaller, younger ears.
- Quantity: Boiling multiple ears at once lowers the water temperature, increasing cooking time.
- Altitude: At higher elevations, water boils at lower temperatures, extending cooking time.
- Frozen vs. Fresh: Frozen corn is often blanched before freezing, so it cooks faster than fresh.
Step-by-Step Guide to Boiling Corn
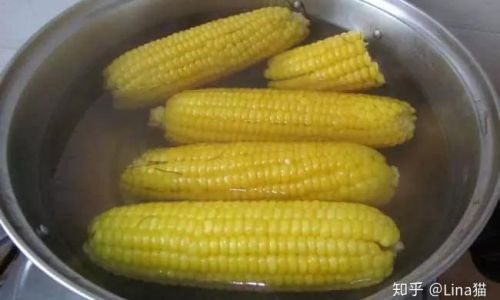
Selecting the Best Corn
Choose ears with bright green husks, tight silk, and plump kernels. Avoid those with dried or shriveled husks, as they’re likely past their prime.
Prepping the Corn
- Husking: Peel back the husks and remove silk strands. Some prefer boiling with husks intact for added flavor, but this increases cooking time.
- Trimming: Cut off any damaged kernels or excess stem.
Preparing the Pot
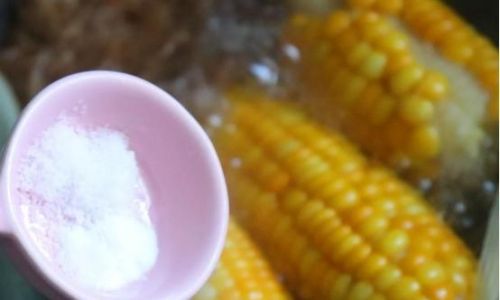
Use a large pot to ensure even cooking. Fill it with enough water to submerge the corn completely. Add a tablespoon of salt per quart of water—this seasons the corn and slightly raises the water’s boiling point, aiding cooking.
Boiling the Water
Bring the water to a rolling boil over high heat. Avoid covering the pot, as this can cause overflow.
Adding the Corn
Gently place the corn into the boiling water. If cooking multiple ears, stagger their placement to maintain the boil.
Timing the Boil
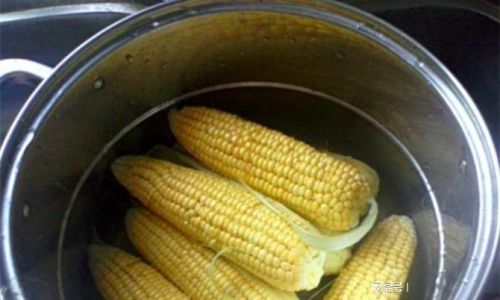
- Fresh Corn: 3–5 minutes. Start timing once the water returns to a boil.
- Frozen Corn: 5–7 minutes.
- Adjustments: For softer kernels, add 1–2 minutes. For al dente texture, reduce time by 1 minute.
Testing for Doneness
- Visual Check: Kernels should appear plump and bright yellow.
- Texture Test: Pierce a kernel with a paring knife. It should slide in easily with slight resistance.
- Milk Test: Pierce a kernel; the juice should be milky, not clear (overcooked) or starchy (undercooked).
Draining and Serving
Immediately remove the corn to prevent overcooking. Serve with butter, salt, pepper, or herbs like cilantro or chives.
Cooking Time Breakdown
Fresh Corn
- Small Ears (6–7 inches): 3 minutes.
- Medium Ears (7–8 inches): 4 minutes.
- Large Ears (8+ inches): 5 minutes.
Frozen Corn
- Whole Kernel: 5–7 minutes.
- Cut Corn: 4–6 minutes.
Quantity Adjustments
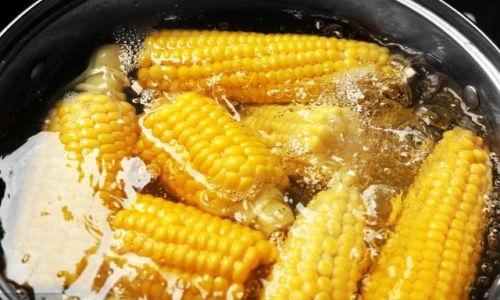
- 1–2 Ears: No adjustment needed.
- 3–4 Ears: Add 1 minute.
- 5+ Ears: Add 2–3 minutes.
High-Altitude Cooking
At elevations above 3,000 feet, increase cooking time by 1–2 minutes due to lower boiling points.
Troubleshooting Common Issues
Overcooked Corn
- Symptoms: Mushy kernels, wrinkled appearance.
- Fix: Use overcooked corn in soups, salads, or salsas where texture is less critical.
Undercooked Corn
- Symptoms: Starchy, crunchy kernels.
- Fix: Return to boiling water for 1–2 minutes.
Uneven Cooking
- Cause: Overcrowded pot or uneven heat distribution.
- Fix: Use a larger pot or rotate ears halfway through cooking.
Tough Kernels
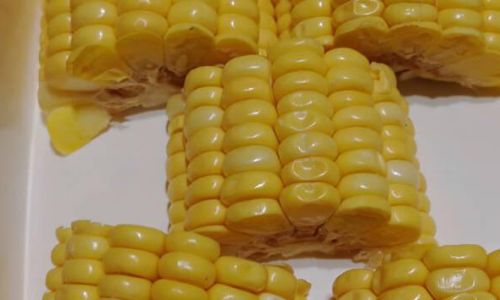
- Cause: Overly mature corn or prolonged storage.
- Fix: Opt for fresher corn or try grilling instead of boiling.
Advanced Techniques for Enhanced Flavor
Flavored Boiling Liquid
Add ingredients to the water for aromatic corn:
- Milk and Butter: For richness (1 cup milk, 2 tbsp butter per quart of water).
- Herbs and Spices: Bay leaves, thyme, or black peppercorns.
- Sweeteners: 1 tbsp sugar or honey per quart for enhanced sweetness.
Baking Soda Trick
Adding 1/2 tsp baking soda to the water helps break down corn’s cellulose, softening kernels (use sparingly to avoid bitterness).
Post-Boil Grilling
After boiling, grill corn for 2–3 minutes per side to caramelize sugars and add smokiness.
Ice Bath Shock
For crisp-tender corn (e.g., for salads), shock boiled corn in ice water to halt cooking, then pat dry.
Nutritional Benefits of Corn
Corn isn’t just delicious—it’s nutritious too! A medium ear (6 inches) contains:
- Calories: 77
- Fiber: 2g (8% DV)
- Vitamins: B3 (10% DV), B5 (8% DV), C (6% DV)
- Minerals: Magnesium (6% DV), Potassium (5% DV)
- Antioxidants: Lutein, zeaxanthin (eye health), and ferulic acid (anti-inflammatory).
Serving Suggestions Beyond the Cob
- Corn Salad: Mix kernels with cherry tomatoes, feta, basil, and balsamic vinaigrette.
- Elote (Mexican Street Corn): Slather with mayo, chili powder, lime, and cotija cheese.
- Corn Chowder: Blend boiled corn into a creamy soup with potatoes and bacon.
- Corn Salsa: Combine with black beans, avocado, and cilantro for a zesty dip.
Conclusion
Boiling corn is a delicate dance between time and texture. By considering freshness, size, and altitude, and mastering the 3-5 minute rule for fresh corn, you’ll achieve kernels that are tender yet vibrant. Experiment with flavored liquids, post-boil grilling, and creative servings to elevate this humble vegetable into a culinary star. Remember, practice makes perfect—soon, you’ll instinctively know when to pull that cob from the pot. Happy boiling!


0 comments