Table of content
The Art of Crafting Perfectly Oozing Taiwanese Popping Pancakes: A Step-by-Step Guide to Making Bursting Filled Wheel Cakes*
Taiwanese street food is renowned for its ability to blend texture, flavor, and visual appeal into bite-sized wonders. Among these treats, bao zhang che lun bing—or “bursting filled wheel cakes”—stand out as a beloved dessert that tantalizes taste buds with its contrasting layers of crispy edges and molten, gooey centers. Often referred to as “popping pancakes” in English, these round, griddle-cooked delights earn their name from the lava-like filling that erupts when bitten into. This article delves into the history, science, and technique behind crafting these treats at home, ensuring every bite delivers that coveted oozing* effect.
The Origin and Cultural Significance
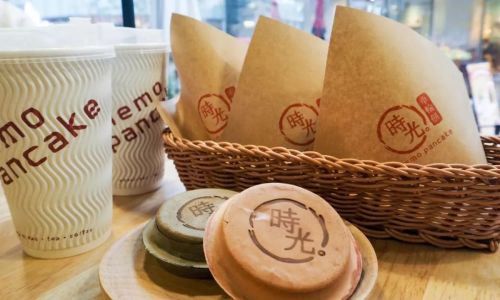
Wheel cakes, or che lun bing, trace their roots to Taiwan’s bustling night markets, where vendors perfected the art of combining simple ingredients into irresistible snacks. The name “wheel cake” refers to the circular mold used to shape the batter, resembling a cartwheel. Over time, chefs began experimenting with fillings, leading to the “bursting” variant that uses liquid or semi-liquid centers. Today, these cakes are a global sensation, with home bakers and food enthusiasts replicating the magic of Taiwan’s streets in their kitchens.
Ingredients You’ll Need
To achieve the perfect balance of crispiness and oozing filling, gather these ingredients:
For the Batter
- 200g all-purpose flour (or cake flour for a lighter texture)
- 2 tbsp granulated sugar
- 1 tsp baking powder (essential for lift and airiness)
- ¼ tsp salt (to enhance flavors)
- 1 large egg (for richness and structure)
- 240ml milk (whole milk works best; dairy-free alternatives like oat milk can be used)
- 1 tsp vanilla extract (or a pinch of vanilla powder)
- 20g unsalted butter, melted (or neutral oil for a dairy-free version)
For the Filling
The key to bursting perfection lies in the filling’s consistency. Choose one or combine multiple options:
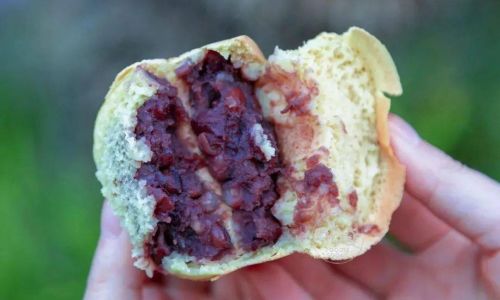
- Red bean paste (homemade or store-bought, thinned with a bit of water)
- Nutella or chocolate-hazelnut spread (melted for流动性)
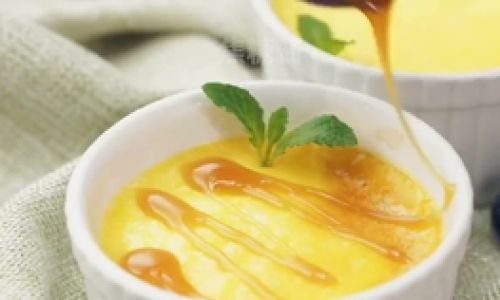
- Salted egg custard (a savory-sweet favorite)
- Cream cheese mixed with powdered sugar (for a cheesecake-inspired twist)
- Fruit compote (strawberry, mango, or lychee, reduced to a syrupy texture)
Tools
- A wheel cake mold (available online or at specialty kitchen stores; a cast-iron pancake mold works as a substitute)
- Piping bags (for precise filling placement)
- A non-stick spatula
- Pastry brush (for oiling the mold)
Step-by-Step Preparation
Making the Batter
The batter’s texture determines the cake’s crispness and ability to trap the filling.
- In a large mixing bowl, whisk together the flour, sugar, baking powder, and salt.
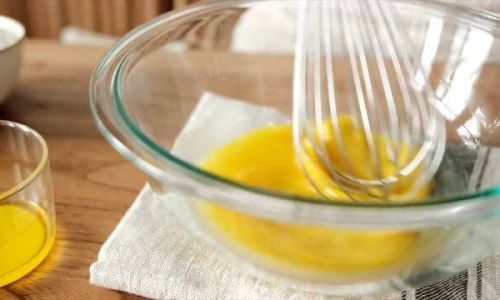
- In a separate bowl, combine the egg, milk, vanilla, and melted butter.
- Gradually pour the wet ingredients into the dry mixture, stirring gently until smooth. Avoid overmixing—lumps are okay!
- Let the batter rest for 30 minutes. This allows the gluten to relax and the baking powder to activate, ensuring a tender crumb.
Preparing the Filling
For the oozing effect, the filling must be liquid enough to flow when heated but thick enough to avoid seeping into the batter prematurely.
- For red bean paste: Mix with 1–2 tbsp of water or milk until it reaches a pourable consistency.
- For chocolate: Melt in a microwave or double boiler, stirring every 15 seconds to prevent burning.
- For custard: Ensure it’s chilled and thickened to a spreadable texture.
Heating the Mold
- Preheat the wheel cake mold over medium-low heat. Lightly grease each cavity with oil or cooking spray.
- Pro Tip: Overheating the mold will burn the cakes before the centers cook. Low and slow is the mantra.
Pouring the Batter
- Fill each mold cavity to ⅔ full with batter. This leaves room for the filling and prevents overflow.
- Cook for 2–3 minutes until bubbles form on the surface. The edges should begin to set.
Adding the Filling
- Using a piping bag or small spoon, add 1–2 tsp of filling to the center of each semi-cooked cake.
- Critical Step: Do not overfill! Excess filling will leak and prevent the cake from sealing.
Sealing the Cakes
- Quickly top each filled cavity with an additional 1 tsp of batter, spreading gently to cover the filling.
- Cook for another 3–4 minutes. The cakes are ready when the edges turn golden brown and pull away from the mold.
Removing and Serving
- Use a non-stick spatula or toothpick to gently lift the cakes from the mold.
- Serve immediately for the ultimate oozing experience. The residual heat will keep the filling liquid for 5–7 minutes.
Mastering the Oozing Filling Technique
The “burst” effect hinges on two factors: temperature and viscosity.
- Hot Filling: Warm fillings (like melted chocolate or heated custard) flow more readily than cold ones.
- Thin Consistency: The filling should be thinner than peanut butter but thicker than maple syrup.
- Sealing Technique: The top layer of batter must fully encapsulate the filling to create steam pressure during cooking.
Troubleshooting:
- Filling Doesn’t Ooze: The batter was too thick, or the filling was too viscous. Thin the filling next time.
- Cakes Are Burnt: Reduce heat and shorten cooking time.
- Filling Leaks: Overfilled cakes or insufficient batter on top.
Tips for Perfect Results
- Rest the Batter: Allows the gluten to develop and the leavening agents to activate.
- Use a Thermometer: Aim for a mold temperature of 175°C (350°F) to ensure even cooking.
- Experiment with Flavors: Try matcha-filled cakes with red bean, or salted caramel with banana.
- Freeze Leftovers: Reheat in a toaster oven for a crisp exterior.
Creative Variations and Flavor Combinations
- Savory Twist: Fill with melted cheese, scrambled eggs, or spicy tuna.
- Vegan Option: Use aquafaba (chickpea brine) as an egg substitute and coconut oil instead of butter.
- Boozy Fillings: Add a splash of Baileys to chocolate or rum to caramel.
Serving Suggestions and Pairings
- Classic Pairing: Serve with a cup of Taiwanese bubble tea or jasmine green tea.
- Dessert Platter: Arrange wheel cakes alongside fresh fruit, whipped cream, and chocolate dipping sauce.
- Brunch Addition: Pair with a side of bacon and a mimosa for a sweet-savory contrast.
The Science Behind the Burst
The oozing effect is a culinary alchemy of heat, texture, and timing. When the hot batter cooks, it creates a tender crust that traps the filling. As the cake cools slightly, the filling’s temperature remains high enough to stay liquid but cool enough to avoid scalding the mouth. This delicate balance is why wheel cakes are best enjoyed fresh off the griddle.
Conclusion
Crafting bursting filled wheel cakes is as much a science as it is an art. By mastering the batter’s consistency, the filling’s viscosity, and the cooking temperature, you can recreate the magic of Taiwan’s night markets in your kitchen. Whether you prefer a classic red bean filling or a daring wasabi-infused custard, the key lies in patience and practice. So fire up your mold, embrace the sizzle, and prepare to delight in every oozing, golden bite.
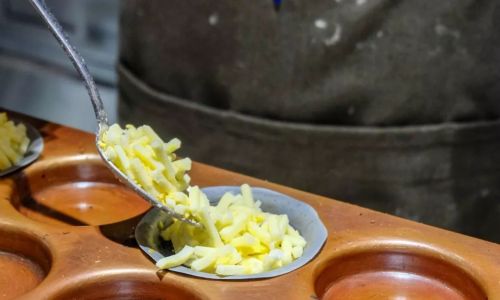
Final Tip: Share these treats with friends—the joy of watching the filling burst is half the fun!

0 comments