Sun-drying hyacinth beans, commonly known as 扁豆角 (piān dòu jiǎo) in Chinese, is a time-honored tradition that transforms fresh, perishable pods into a shelf-stable pantry staple. This ancient preservation method not only extends the lifespan of these nutrient-rich legumes but also concentrates their flavors, making them a versatile ingredient for soups, stews, and stir-fries. Whether you’re a gardener with a bumper harvest, a zero-waste advocate, or simply someone who loves the rustic charm of homemade dried goods, mastering the art of sun-drying hyacinth beans is a rewarding endeavor. This guide will walk you through the entire process, from selecting the freshest pods to storing your dried beans for long-term use.
Why Sun-Dry Hyacinth Beans?
Sun-drying is one of the oldest food preservation techniques, dating back centuries. Unlike modern methods like freeze-drying or canning, sun-drying requires minimal equipment—just sunlight, airflow, and patience. For hyacinth beans, this process offers several advantages:
- Extended Shelf Life: Properly dried beans can last for up to a year when stored correctly.
- Intensified Flavor: Drying concentrates the beans’ natural sweetness and earthy notes.
- Nutrient Retention: While some vitamins (like C) may degrade, fiber, protein, and minerals remain largely intact.
- Cost Efficiency: Sun-drying eliminates the need for electricity or special tools, making it accessible to all.
Step 1: Harvesting or Sourcing Fresh Hyacinth Beans
The quality of your dried beans depends heavily on the freshness of the starting material. If you’re harvesting your own, wait until the pods are plump, firm, and fully mature but before they turn yellow or brittle. The beans inside should be tender yet fully formed—not starchy or overripe.
Key Tips:
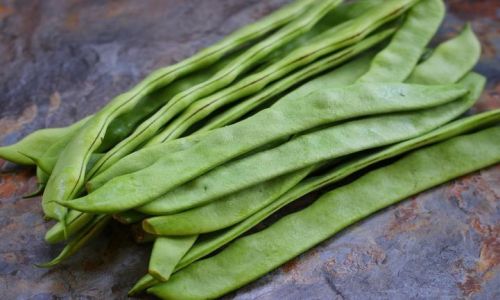
- Avoid pods with blemishes, mold, or insect damage.
- Harvest in the morning after the dew has evaporated to minimize moisture.
- If purchasing, choose organic or locally grown beans to ensure pesticide-free produce.
Step 2: Preparing the Beans for Drying
Proper preparation is critical to prevent spoilage and ensure even drying. Follow these steps:
-
Washing:
Rinse the pods under cool, running water to remove dirt, debris, and residual pesticides. Gently scrub with a soft brush if necessary, but avoid damaging the skin. -
Blanching (Optional but Recommended):
Blanching halts enzyme activity that can cause flavor loss and discoloration during drying. To blanch:- Bring a large pot of water to a rolling boil.
- Add the beans and cook for 2–3 minutes.
- Immediately transfer to an ice bath to cool.
- Pat dry thoroughly with a clean towel.
Skip blanching if you prefer a chewier texture, but note that unblanched beans may require shorter drying times.
-
Stringing and Snapping (if needed):
Some hyacinth bean varieties have fibrous strings along the seams. Remove these by snapping off the stem end and pulling the string downward. Break larger pods into 2–3 inch pieces for uniform drying.
Step 3: Setting Up Your Drying Station
The ideal sun-drying environment is warm, dry, and breezy. Here’s how to create one:
-
Choose the Right Location:
- Select a spot that receives direct sunlight for at least 6–8 hours daily.
- Avoid areas near trees, buildings, or low-lying spots where moisture collects.
- Elevate your drying tray to improve airflow and deter pests.
-
Select a Drying Surface:
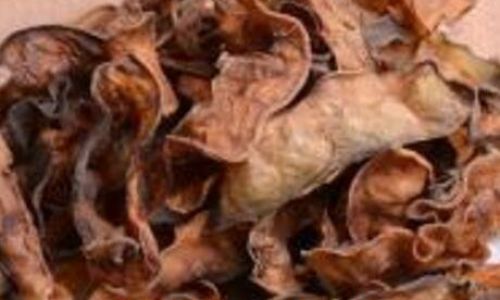
- Use clean, food-safe materials like wooden trays, stainless steel screens, or cheesecloth stretched over frames.
- Avoid plastic, as it can trap moisture and leach chemicals.
- Line trays with muslin or parchment paper to prevent sticking.
-
Arrange the Beans:
- Spread the beans in a single layer, ensuring they don’t touch or overlap.
- For pods, leave them whole or split them open to expose the inner beans.
Step 4: The Drying Process
Sun-drying typically takes 3–5 days, depending on weather conditions. Follow these guidelines:
-
Monitor the Weather:
- Ideal temperatures range between 85–95°F (29–35°C) with low humidity.
- Avoid drying on rainy or humid days, as moisture can cause mold.
-
Flip and Rotate:
- Gently stir the beans every 2–3 hours to promote even drying.
- Use clean hands or a wooden spatula to prevent bruising.
-
Protect from Pests:
- Cover trays with cheesecloth or netting to keep insects and birds away.
- Check daily for signs of infestation and remove affected beans immediately.
-
Test for Dryness:
- Dried beans should feel leathery yet brittle, with no moisture in the center.
- To test, bend a pod—it should snap cleanly rather than bend.
- For shelled beans, try biting one; it should shatter instead of chewing.
Step 5: Post-Drying Processing
Once fully dried, your hyacinth beans require a few final steps:
-
Cooling:
Leave the beans on trays for an additional 24 hours in a shaded, well-ventilated area to equalize moisture.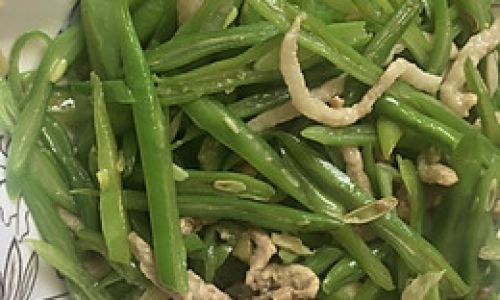
-
Shelling (if applicable):
If you dried whole pods, gently crack them open and remove the inner beans. Discard any shriveled or discolored specimens. -
Sorting and Cleaning:
Remove debris, stones, or imperfect beans by hand or with a sieve.
Step 6: Storage Solutions
Proper storage is key to maintaining quality. Follow these tips:
-
Containers:
- Use airtight glass jars, metal tins, or food-grade plastic containers with tight-fitting lids.
- Avoid fabric bags, as they offer no protection against pests or humidity.
-
Location:
- Store in a cool, dark place like a pantry or cupboard.
- Avoid areas near stoves, refrigerators, or windows, where temperature fluctuations occur.
-
Labeling:
Date and label containers to track freshness.
Step 7: Rehydrating and Using Dried Hyacinth Beans
Dried hyacinth beans are incredibly versatile. Here’s how to use them:
-
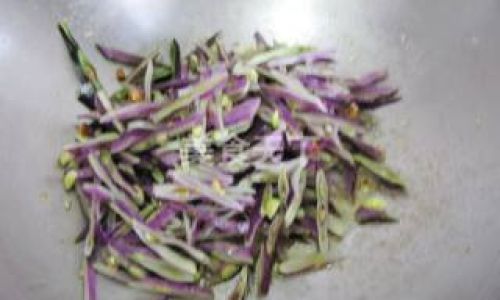
Rehydration Methods:
- Soaking: Cover beans with cold water and soak overnight (8–12 hours).
- Quick Soak: Boil for 2 minutes, then let stand for 1 hour.
- Pressure Cooking: Skip soaking and cook under high pressure for 15–20 minutes.
-
Culinary Uses:
- Add to hearty stews, curries, or chili for texture.
- Blend into dips or spreads.
- Roast and season as a crunchy snack.
Troubleshooting Common Issues
- Mold or Spoilage: Discard affected beans and ensure better airflow next time.
- Uneven Drying: Use a fan to improve circulation or break beans into smaller pieces.
- Insect Infestation: Freeze beans for 48 hours post-drying to kill larvae.
The Cultural and Environmental Impact
Sun-drying hyacinth beans is more than a practical skill—it’s a connection to ancestral wisdom. In many cultures, communal drying rituals strengthen bonds and celebrate seasonal abundance. Additionally, this method aligns with sustainability goals by reducing food waste and energy consumption.
Conclusion
Sun-drying hyacinth beans is a labor of love that rewards you with a pantry staple bursting with flavor and history. By following these steps, you’ll preserve not just beans, but also a piece of culinary heritage. So next time your garden overflows or your market haul is too generous, remember: the sun is nature’s most generous preserver. Happy drying!




0 comments