Introduction
Cleaning frozen clam meat is a crucial step in preparing this delectable seafood for culinary use. Whether you’re a seasoned chef or a home cook, ensuring that clam meat is thoroughly cleaned not only enhances its flavor but also guarantees safety by removing sand, grit, and impurities. Frozen clam meat, often sold as “毛贝肉” (máo bèi ròu) in Asian markets, requires specific care to retain its texture and taste. This guide will walk you through the entire process, from thawing to final rinsing, while highlighting essential tools, safety measures, and expert tips to achieve perfectly cleaned clam meat every time.
Understanding Frozen Clam Meat
Frozen clam meat is typically harvested, processed, and frozen promptly to preserve freshness. The term “毛贝” refers to a specific variety of clam with a hairy or bristle-like exterior, which is removed during processing. However, residual sand, mucus, or broken shell fragments may still cling to the meat. Freezing can sometimes cause the meat to adhere to remaining shell particles, making thorough cleaning essential.
Preparation Before Cleaning
Before diving into the cleaning process, gather the necessary supplies:
- A large colander or sieve: For draining and rinsing.
- A stiff-bristled brush: To scrub stubborn debris.
- A sharp paring knife: For trimming excess tissue or removing blackened areas.
- A bowl of cold water: To soak and rinse the clams.
- Clean kitchen towels or paper towels: For drying.
- Gloves (optional): To protect hands from cold temperatures or sharp edges.
Step-by-Step Cleaning Process
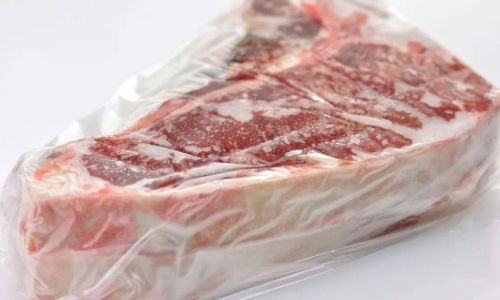
Thawing the Clam Meat
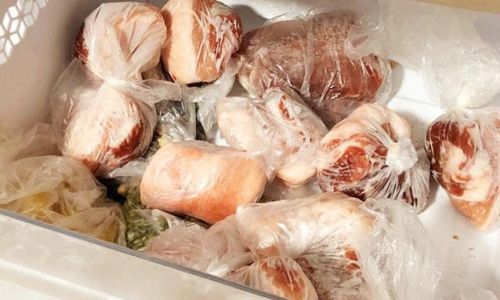
Proper thawing is the foundation of effective cleaning. Avoid using hot water or microwaves, as these can partially cook the meat, altering its texture and making impurities harder to remove. Instead:
- Refrigerator Thawing: Transfer the frozen clam meat to a sealed container and place it in the refrigerator for 8–12 hours. This gradual thawing preserves quality.
- Cold Water Thawing: If short on time, seal the clams in a plastic bag and submerge in cold water, changing the water every 30 minutes until thawed (1–2 hours).
Initial Rinse
Once thawed, place the clam meat in a colander under cold running water. Gently agitate with your fingers to dislodge loose sand or debris. Avoid using force, as this may bruise the meat.
Soaking in Saltwater
Soaking clam meat in saltwater mimics their natural environment, encouraging them to expel residual grit:
- Dissolve 1/4 cup of kosher salt in 4 cups of cold water.
- Submerge the clams and soak for 20–30 minutes. Some chefs add a tablespoon of cornmeal to absorb impurities.
- Drain and rinse thoroughly.
Scrubbing and Inspection
Lay the clam meat on a clean surface. Use the stiff brush to scrub each piece, paying attention to crevices. Inspect for:
- Blackened veins or membranes: These are edible but may have a stronger flavor; remove them if desired.
- Shell fragments: Use the knife to scrape off any attached shells.
- Discolored patches: Trim these with the knife.
Final Rinse and Drain
Rinse the clam meat under cold water once more. Ensure all saltwater, sand, and loose particles are washed away. Shake off excess water and pat dry gently with towels.
Optional Vinegar Soak
For added thoroughness, soak the clams in a mixture of 1 part white vinegar to 4 parts water for 10 minutes. Vinegar helps dissolve remaining mucus and kills bacteria. Rinse well afterward.
Safety Precautions
- Avoid Cross-Contamination: Use separate utensils and cutting boards for raw clam meat.
- Check for Freshness: Discard clams with a foul odor, slimy texture, or unusually pale color.
- Cook Thoroughly: Cleaned clam meat should be cooked to an internal temperature of 145°F (63°C) to eliminate harmful bacteria.
- Storage: If not cooking immediately, store cleaned clam meat in an airtight container with ice packs (no longer than 2 hours post-cleaning).
Common Mistakes to Avoid
- Using Hot Water: Accelerates thawing but compromises texture.
- Over-Scrubbing: Can damage the meat, leading to a mushy texture.
- Ignoring Discoloration: Dark spots may indicate spoilage or poor handling.
- Reusing Contaminated Water: Always use fresh water for soaking and rinsing.
Post-Cleaning Storage and Cooking Tips
Storage
- Refrigeration: Store cleaned clam meat in a covered container with a damp paper towel for up to 2 days.
- Freezing: If re-freezing, use airtight freezer bags and consume within 1 month.
Cooking Methods
- Steaming: Place clams in a steamer basket over boiling water. Cook until shells open (3–5 minutes).
- Sautéing: Pat dry and cook in a hot pan with oil, garlic, and herbs for 2–3 minutes per side.
- Soup Base: Add to broths during the last 5 minutes of simmering.
Enhancing Flavor
- Marinate cleaned clam meat in citrus juice, soy sauce, or ginger for 15–30 minutes before cooking.
- Pair with aromatic ingredients like lemongrass, chili, or cilantro.
Conclusion
Cleaning frozen clam meat may seem daunting, but with patience and the right techniques, it becomes a straightforward process. By prioritizing thorough thawing, gentle scrubbing, and adherence to safety guidelines, you can elevate your dishes with pristine, flavorful clam meat. Whether enjoyed in a steaming soup, a zesty stir-fry, or a classic linguine dish, properly cleaned clams offer a culinary experience worth the effort. Remember, the key to unlocking their briny sweetness lies in meticulous preparation—a small investment of time that yields remarkable results.


0 comments