Introduction
Reheating leftover roast duck from the refrigerator might seem like a simple task, but achieving the perfect balance of crispy skin and tender, moist meat requires precision and care. The microwave, often criticized for drying out food, can be a convenient ally if used correctly. This article delves into the science and techniques behind reheating refrigerated roast duck, exploring factors like wattage, portion size, and preparation methods to ensure your meal tastes as if it were freshly cooked. Whether you’re a busy professional, a home cook, or a culinary enthusiast, mastering this skill will elevate your leftover game and reduce food waste.
Understanding the Challenges of Microwaving Roast Duck
Roast duck, with its fatty skin and succulent meat, poses unique challenges during reheating. The microwave’s rapid heating process can cause uneven temperature distribution, leaving some parts scorching hot while others remain cold. Additionally, the high-frequency electromagnetic waves can strip moisture from the meat, resulting in a dry, rubbery texture. The key to success lies in mitigating these issues through strategic preparation and timing.
Factors Influencing Reheating Time
-
Microwave Wattage:
Microwaves vary in power, typically ranging from 600 to 1,200 watts. Higher wattage means faster cooking, but also a greater risk of overheating. If your microwave’s wattage is unknown, a quick test involves heating a cup of water for two minutes; measure the temperature rise to estimate power output. -
Duck Portion Size:
Whole ducks reheat unevenly. Slicing the duck into smaller portions—such as breasts, legs, or thighs—ensures more consistent heating. Thicker cuts require longer times, while thinner slices heat faster. -
Initial Refrigerator Temperature:
Duck stored in the coldest part of the refrigerator (below 40°F/4°C) will take longer to reheat than meat kept in the door or warmer sections. Always check the internal temperature with a food thermometer to ensure it reaches 165°F (74°C) for safety. -
Desired Crispiness:
While the microwave excels at heating, it struggles to recreate the crispy skin achieved in an oven or air fryer. Combining microwave reheating with a brief broil or sear can restore texture without compromising convenience.
Step-by-Step Guide to Reheating Roast Duck in the Microwave
Step 1: Preparation
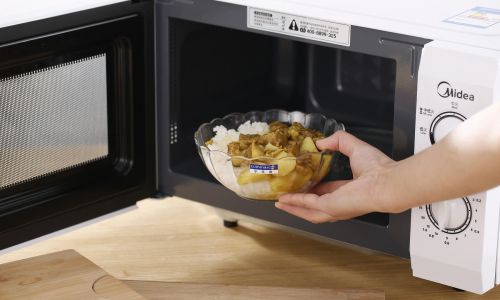
- Thawing (if frozen): If your duck is frozen, transfer it to the refrigerator 24 hours before reheating. Avoid thawing at room temperature to prevent bacterial growth.
- Slicing: Cut the duck into serving-sized pieces. Remove excess fat to reduce greasiness, but retain some skin for flavor.
- Moisture Addition: Lightly brush the duck with broth, sauce, or melted butter to counteract dryness. Covering the meat with a damp paper towel during reheating also helps retain moisture.
Step 2: Arrangement
Place the duck pieces in a microwave-safe dish, ensuring they are not overlapping. Use a raised rack if available to allow heat circulation beneath the meat. Avoid deep containers, as they can trap steam and soften the skin.
Step 3: Power Settings
Set the microwave to 50% power (medium) to prevent overcooking. Lower power allows for gentler, more even heating.
Step 4: Heating Intervals
- Small portions (e.g., breasts or legs): 1–2 minutes per side.
- Larger portions (e.g., half-duck): 3–4 minutes per side.
- Whole duck: Not recommended, but if necessary, heat in 5-minute intervals, rotating every 2 minutes.
Step 5: Monitoring and Resting
After each interval, check the duck’s temperature with a thermometer. Once it reaches 165°F (74°C), remove it from the microwave and let it rest for 2–3 minutes. Resting allows juices to redistribute, enhancing moisture.
Pro Tips for Optimal Results
- Use a Meat Thermometer: Overcooking is the enemy of tender duck. Invest in a digital thermometer for accuracy.
- Rotate and Flip: Halfw through reheating, flip the pieces and rotate the dish to ensure even heating.
- Crisping Hack: After microwaving, transfer the duck to a preheated oven (400°F/200°C) for 3–5 minutes to crisp the skin.
- Sauce Integration: Toss reheated duck in a pan with sauce or glaze to add moisture and flavor.
Common Mistakes to Avoid
- Overheating: Microwaving for too long evaporates moisture and toughens the meat.
- Ignoring Resting Time: Immediate serving after heating leads to dryness.
- Using High Power: Full power settings create hotspots and uneven cooking.
- Skipping Moisture: Forgetting to add liquid or cover the dish results in a leathery texture.
Alternative Reheating Methods
While the microwave is quick, consider these alternatives for superior texture:
- Oven: Reheat at 350°F (175°C) for 15–20 minutes, covered with foil to retain moisture.
- Stovetop: Sear duck pieces in a skillet with oil for crispy skin and even heating.
- Air Fryer: 375°F (190°C) for 5–7 minutes recreates restaurant-quality crispiness.
Safety and Storage Guidelines
- Refrigeration: Store leftover duck in airtight containers within 2 hours of cooking. Consume within 3–4 days.
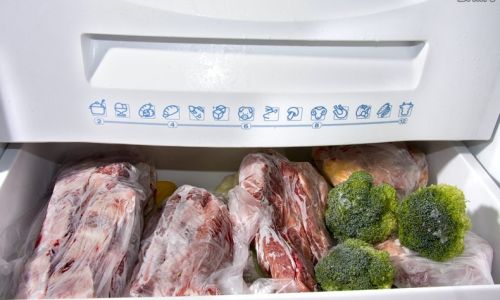
- Freezing: Wrap tightly in foil or freezer bags for up to 3 months. Thaw in the refrigerator before reheating.
- Reheating Limits: Never reheat duck more than once. Repeated heating increases bacterial risk.
Conclusion
Reheating roast duck in the microwave is a balance of science and patience. By understanding your microwave’s power, preparing the meat thoughtfully, and adhering to precise timing, you can transform leftovers into a delectable meal. While the microwave may not replicate the oven’s crispiness, combining it with strategic finishing techniques ensures a dish that honors the original flavors. Whether you’re rushing through a weekday dinner or repurposing holiday leftovers, mastering this skill will make every bite as satisfying as the first. Experiment with portion sizes, power settings, and accompaniments to discover your perfect method—and never settle for subpar reheated duck again.





0 comments